Introduction to Indulging Guilt-Free
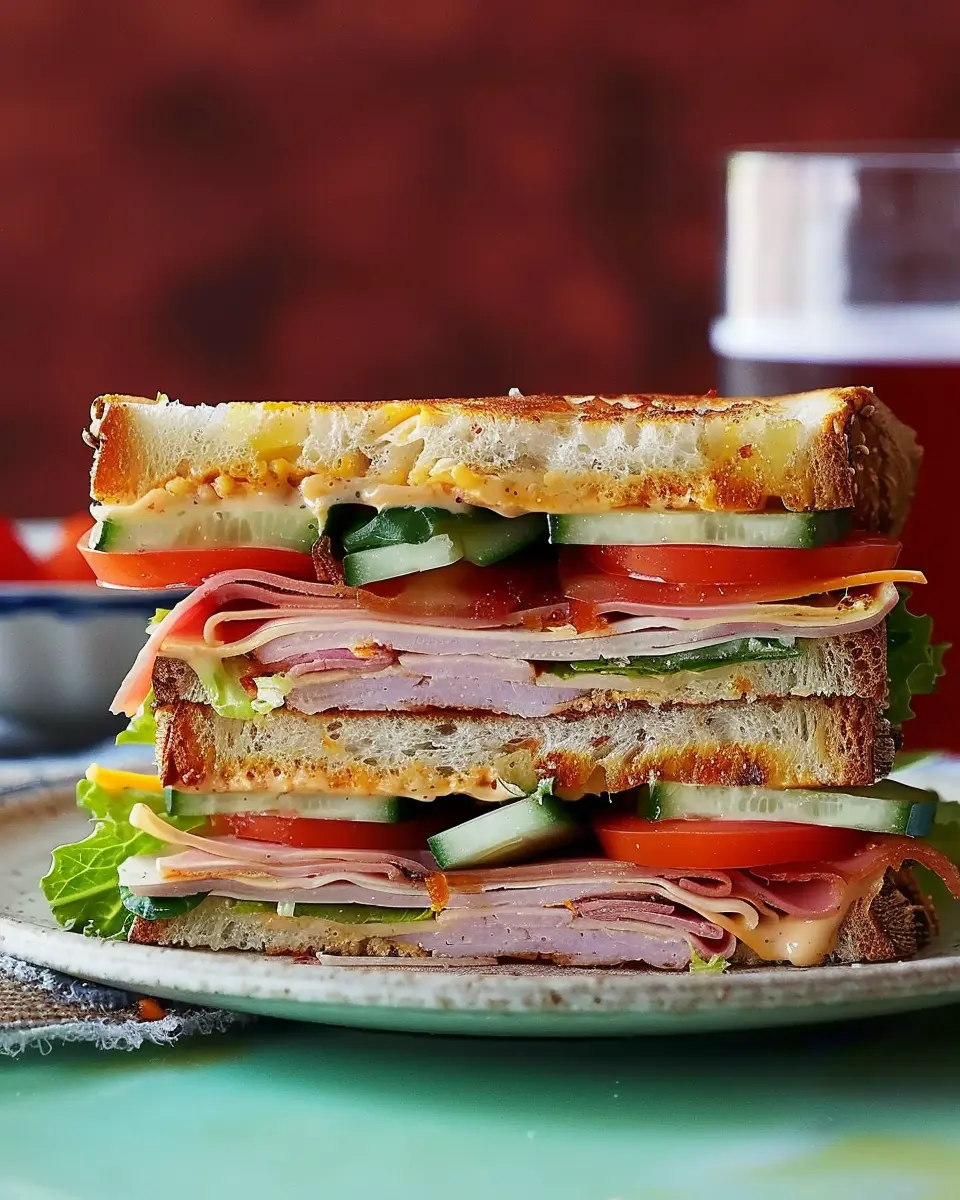
In a world where convenience often trumps quality, there’s something uniquely satisfying about homemade indulgences. When you decide to whip up a treat in your own kitchen, you’re not just creating a dish; you’re crafting an experience tailored to your tastes. Homemade treats can be healthier, more flavorful, and often much more satisfying than store-bought options. You have complete control over the ingredients, meaning you can swap in lighter alternatives, like using Turkey Bacon instead of traditional bacon or Chicken Ham instead of pork.
Moreover, several studies suggest that when we engage in cooking, we tend to develop a deeper appreciation for what we eat. The act of preparing food at home can lead to better eating habits and a reduced likelihood of reaching for unhealthy, processed snacks. Lean more about the health benefits of cooking at home in this Healthline article.
The joy of transforming simple ingredients into a treat is profound. Picture yourself mixing ripe bananas, oats, and a dash of cocoa powder to create a delightful guilt-free dessert that you can indulge in without any remorse. The process is therapeutic; it allows for creativity while promoting mindfulness.
Tap into Your Culinary Creativity
Additionally, creating these homemade delicacies gives you the chance to experiment. You can customize recipes based on personal preference or dietary needs, allowing you to truly indulge guilt-free. Don’t shy away from substituting ingredients to enhance flavor or reduce calories!
- Want to make your cookies healthier? Swap out half the sugar for unsweetened applesauce or try using whole-grain flour instead of white.
- Craving something creamy? Opt for Greek yogurt over heavy cream, which adds protein without the excess fat.
This culinary journey isn’t just about making delectable dishes; it’s an opportunity to connect with your food and cultivate a healthier lifestyle. So, let’s dive into the world of homemade treats, where indulgence meets wellness. You’ll not only satisfy your cravings but also gain the satisfaction of knowing exactly what’s inside your delicious creations.

Ingredients for Peanut Butter Cup Cottage Cheese Mousse
Breakdown of essential ingredients
To whip up this delightful Peanut Butter Cup Cottage Cheese Mousse, you’ll need a handful of simple yet satisfying ingredients:
- Cottage Cheese: The star of our mousse! It adds creaminess and a protein boost.
- Peanut Butter: Choose any creamy or crunchy option you love; it provides that essential nutty flavor.
- Honey or Maple Syrup: For some natural sweetness without the guilt. Adjust to your taste!
- Cocoa Powder: This gives it that rich chocolatey note, making it truly indulgent.
- Vanilla Extract: Just a splash to enhance the overall flavor profile.
- Chocolate chips: For an added treat and texture.
Possible substitutes for dietary needs
We all have unique dietary preferences, right? If you’re looking to indulge guilt-free, here are some substitutions:
- Cottage Cheese: Try Greek yogurt for a tangy twist or silken tofu for a dairy-free option.
- Peanut Butter: Use almond or sunflower seed butter if you have allergies.
- Sweeteners: If you prefer a low-glycemic option, consider stevia or erythritol.
- Cocoa Powder: Carob powder is a great alternative for a caffeine-free option.
Make adjustments based on your taste and what’s in your pantry! You’d be surprised at how versatile this recipe can be. For more cooking inspiration, check out sites like Food Network for diverse alternatives. Happy cooking!
Step-by-Step Preparation of Peanut Butter Cup Cottage Cheese Mousse
Are you craving something sweet yet healthy that perfectly combines tongue-tingling flavors with guilt-free indulgence? Look no further! The Peanut Butter Cup Cottage Cheese Mousse is the perfect treat that balances creamy goodness with rich chocolate and nutty undertones. Here’s how to whip it up in no time!
Gather your ingredients
Before diving into the preparation of this luscious dessert, let’s ensure you have everything you need on hand. Here’s your shopping list:
- 1 cup of cottage cheese (preferably low-fat)
- 1/2 cup of creamy peanut butter (choose a natural option for fewer additives)
- 2 tablespoons of pure maple syrup (this will add the perfect hint of sweetness)
- 1 teaspoon of pure vanilla extract (for that aromatic flavor)
- 3 tablespoons of unsweetened cocoa powder (you can go for a dark variety for depth)
- 1/4 cup of dark chocolate chips (70% cocoa works wonders here)
With your ingredients ready to go, you’re already halfway to a decadent yet healthy dessert!
Blend the cottage cheese to creamy perfection
The heart of this mousse is the cottage cheese, and achieving a smooth texture is crucial. Grab your blender or food processor and toss in your cottage cheese. Blend on high until it’s silky and smooth—this might take a minute or two. If you’re struggling to get the creaminess just right, a splash of almond milk can help achieve that perfect consistency.
This step is essential because blending breaks down the curds, making the cottage cheese less noticeable in your delicious mousse. Trust me; you want that creamy base!
Incorporate peanut butter for that rich taste
Now that you have the perfect cottage cheese base, it’s time to introduce your star ingredient: peanut butter! Add the creamy peanut butter into the blender with the cottage cheese. Pulse until thoroughly combined.
As you blend, take a moment to relish that nutty aroma wafting through the kitchen. It’s the kind of smell that promises a delightful treat ahead. Not a fan of peanut butter? You can substitute with almond butter or sunflower seed butter to suit your taste!
Sweeten it up with maple syrup and vanilla
Next in this exciting process is to bring that sweetness to the party. Pour in the maple syrup and vanilla extract, and give the mixture another good blend. The syrup not only sweetens your mousse but also adds a touch of earthy flavor that complements the peanut butter beautifully.
Tip: Always taste your mixture! You can easily adjust sweetness by adding more maple syrup or even a dash of stevia if you prefer a lower-calorie option.
Add cocoa powder for a chocolatey kick
What’s a peanut butter cup without chocolate? Time to stir in the unsweetened cocoa powder. This step is where the magic truly happens. Blend until fully incorporated, and watch as the mixture transforms into a beautiful chocolate hue.
As you mix, think about the health benefits of cocoa—it’s rich in antioxidants and can improve your mood. Talk about a win-win!
Fold in chocolate chips for delightful bites
To elevate your mousse further, gently fold in the dark chocolate chips. These little gems will give you delightful bites throughout your mousse, providing an irresistible texture contrast.
Instead of blending, folding will allow the chocolate chips to remain intact, giving you those satisfying pockets of chocolate goodness every spoonful.
Chill and let the flavors meld
Once everything is combined, transfer your mousse into serving cups or bowls. Cover them with plastic wrap and pop them in the refrigerator for at least an hour. This chilling phase not only allows the flavors to meld beautifully but also ensures your mousse gets that delightful, cold creamy texture that’s perfect for serving.
When you’re ready to indulge guilt-free, scoop out a portion and enjoy your Peanut Butter Cup Cottage Cheese Mousse! It’s a delectable treat that satisfies your sweet tooth while keeping your health goals intact.
Ready to enjoy a dessert that aligns with your wellness journey? Go ahead and savor every spoonful of goodness!
Variations on Peanut Butter Cup Cottage Cheese Mousse
When it comes to indulging guilt-free, the Peanut Butter Cup Cottage Cheese Mousse can be a canvas for delicious creativity. If you want to switch things up or cater to different dietary preferences, here are two fantastic variations!
Vegan Alternative with Silken Tofu
For those embracing a plant-based lifestyle, silken tofu is a game-changer. It not only mimics the creamy texture of cottage cheese but can also absorb flavors beautifully, making it a perfect substitute in this recipe. Simply blend:
- 1 cup silken tofu
- 2 tablespoons peanut butter
- 2 tablespoons cocoa powder
- A dash of maple syrup for sweetness
This combination packs in protein while still satisfying your sweet tooth. You won’t even miss the dairy! Plus, it’s a great way to sneak in extra protein and lower cholesterol. Learn more about the nutritional benefits of tofu here.
Nut-Free Version Using Seed Butter
If you have nut allergies or simply want to try something different, sunflower seed butter or pumpkin seed butter can give you the nutty flavor we all love—without the nuts! Substituting the peanut butter with seed butter allows you to enjoy this mousse guilt-free and worry-free. To make this variation, use:
- 1 cup cottage cheese
- 2 tablespoons sunflower seed butter
- 2 tablespoons unsweetened cocoa powder
- A sprinkle of coconut sugar for sweetness
Not only is this nut-free option delectable, but it also provides healthy fats and plenty of flavor. For more information on the benefits of seed butters, check out this resource.
Whether you’re going vegan or nut-free, these variations ensure that you can always have a deliciously rich dessert that fits your lifestyle!
Cooking Tips and Notes for Peanut Butter Cup Cottage Cheese Mousse
Tips for achieving the perfect mousse texture
To achieve that light, airy texture, it’s crucial to use creamy cottage cheese. Opt for high-quality brands, as they blend more smoothly, creating a luxurious mouthfeel. A good tip is to blend the cottage cheese until fully smooth before incorporating other ingredients. This helps eliminate any graininess that can detract from your mousse’s overall appeal.
Incorporating whipped cream or whipped egg whites can add lightness, but make sure to fold gently to retain that fluffy texture! Plus, chill your mousse before serving—this allows the flavors to meld beautifully, making every bite a delightful experience.
How to enhance flavors for a gourmet touch
To really indulge guilt-free and elevate your mousse, consider adding a splash of vanilla extract or a pinch of sea salt. These little additions can work wonders, bringing out the rich flavors of the peanut butter. Want to be adventurous? You could add a swirl of caramel sauce or a sprinkle of crushed nuts for that gourmet finish!
For additional inspiration, check out articles on flavor profiling at Serious Eats or Bon Appétit. A balanced mousse not only satisfies your sweet tooth but also impresses your friends at your next gathering!
Serving Suggestions for Peanut Butter Cup Cottage Cheese Mousse
Creative Presentation Ideas
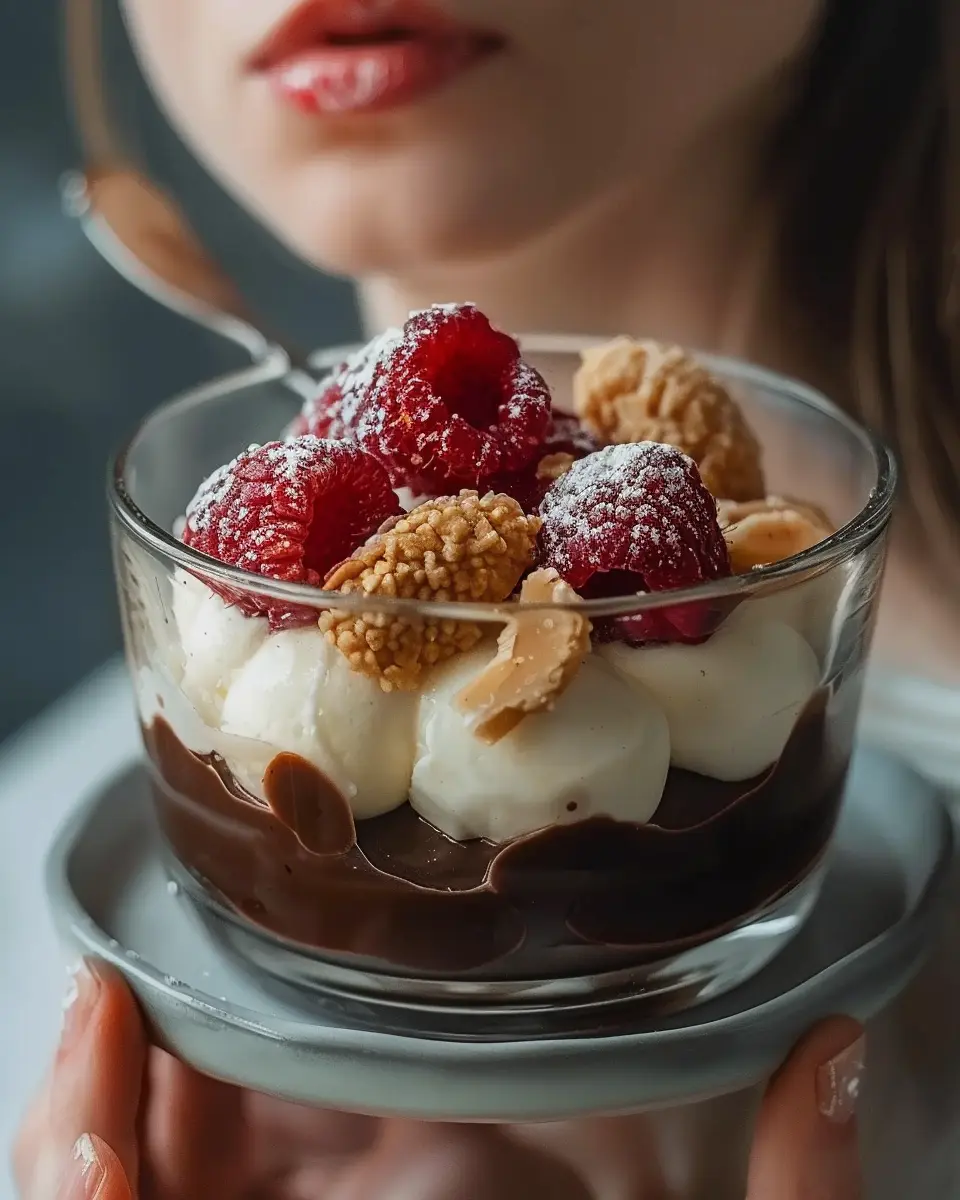
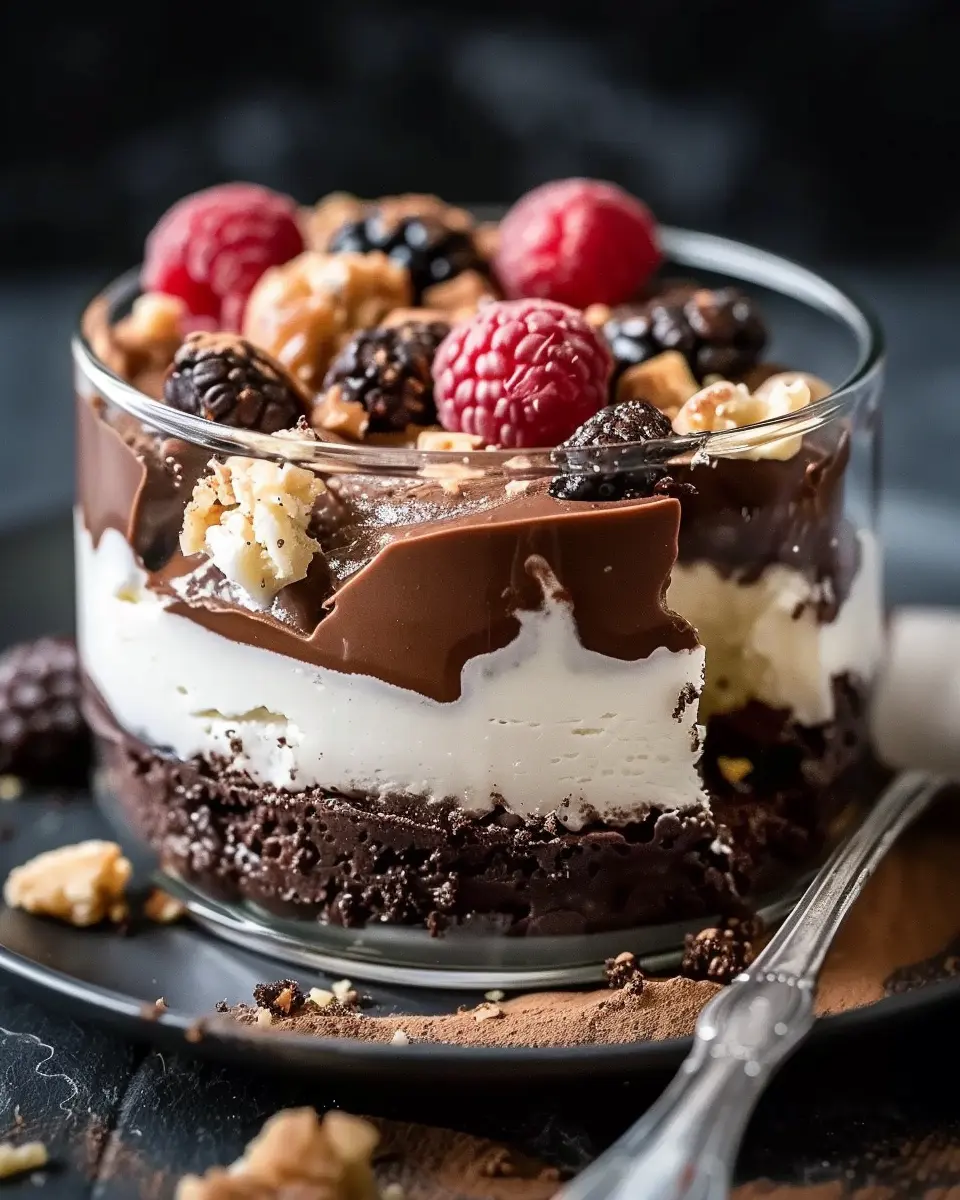
To make your Peanut Butter Cup Cottage Cheese Mousse truly shine, consider creative presentation. Serving it in individual ramekins adds a touch of elegance to your dessert table. For a fun twist, layer the mousse in a clear glass with chopped dark chocolate and crushed peanuts to create a beautiful parfait. Garnish with a dollop of whipped cream, a drizzle of sugar-free chocolate sauce, or a sprinkle of cocoa powder to elevate the visual appeal even further.
Pairings to Elevate Your Dessert Experience
You can truly indulge guilt-free by pairing your mousse with complementary flavors. Consider:
- Fresh fruits: Sliced strawberries or bananas provide a delicious contrast to the creamy texture.
- Nut toppings: Chopped almonds or walnuts boost the health factor while adding a satisfying crunch.
- Coffee or herbal tea: These beverages enhance the mousse’s richness without adding extra calories.
Remember, the key is balance; aim for a mix of textures and flavors that complement the silky mousse. Explore additional pairing ideas over at EatingWell for inspiration!
Time Breakdown for Peanut Butter Cup Cottage Cheese Mousse
Preparation Time
Getting started is a breeze! You’ll need about 10 minutes to whip up this delightful mousse. Gather your ingredients—cottage cheese, peanut butter, cocoa powder, and a bit of sweetener—and blend them until smooth. It’s as simple as that!
Chilling Time
To achieve that silky texture, let your mousse chill for 30 minutes. While it’s setting, it’s the perfect opportunity to prep some toppings or just relax with a good book.
Total Time
In just 40 minutes, you can savor this luxurious dessert without the guilt. Perfect for a quick treat after a long day or an indulgent addition to your next dinner party, you can truly indulge guilt-free.
For more inspiration on healthy desserts, check out this article on wholesome sweets. Enjoy every spoonful!
Nutritional Facts for Peanut Butter Cup Cottage Cheese Mousse
Calories and Macronutrients
When you indulge guilt-free with this Peanut Butter Cup Cottage Cheese Mousse, you’ll be pleasantly surprised by its nutritional benefits. Each serving typically comes in around 150 calories, with a delightful balance of macronutrients:
- Protein: 15g
- Carbohydrates: 12g
- Fat: 6g
This is a satisfying dessert option that won’t derail your healthy eating goals!
Health Benefits of Key Ingredients
The star players—cottage cheese and peanut butter—offer remarkable health benefits:
-
Cottage Cheese: Packed with protein and calcium, it supports muscle recovery and bone health. It’s also low in fats, making it a perfect base for a creamy mousse.
-
Peanut Butter: This delicious spread is a source of heart-healthy fats and protein. Additionally, it’s known for keeping you satiated longer, which helps curb cravings throughout the day. An excellent resource for additional nutritional facts can be found at the USDA FoodData Central.
By choosing this mousse, you’re not only treating your taste buds but also nourishing your body. So why not give it a try and indulge guilt-free?
FAQs about Indulging Guilt-Free Desserts
When it comes to delicious, healthy desserts, it’s normal to have a few questions before diving in. Here are some FAQs to help you indulge guilt-free without any worries!
Can I use other flavors in this mousse?
Absolutely! This mousse recipe is wonderfully versatile. If you’re feeling adventurous, consider experimenting with flavors like vanilla, matcha, or even coffee. Just keep in mind that if you’re adding a liquid flavoring, you may need to adjust the amount of sweetener to find the perfect balance. You could also use pureed fruits like pumpkin or berries for a natural twist. The goal is to make it your own while enjoying the health benefits!
How long can I store this dessert?
One of the best parts about this mousse is its convenience! You can store it in the refrigerator for about 3 to 5 days in an airtight container. Just remember to give it a quick stir before serving, as it may separate slightly over time. Longer storage might lessen the flavor and texture, but trust us, it’s generally too delicious to stick around that long!
What’s a quick fix if my mousse isn’t thick enough?
If your mousse didn’t set up as you’d hoped, don’t fret! A quick fix would be to add a tablespoon or two of chia seeds. These little powerhouses not only thicken your mousse but also pack in extra nutrition! Let it sit for about 15-30 minutes so the chia can work its magic. Alternatively, try refrigerating it for a couple of hours to achieve that creamy consistency you desire.
For tips on maintaining a healthy lifestyle while enjoying treats, check out resources from Healthline or Nutrition.gov.
Conclusion on Indulging Guilt-Free Desserts
Recap on the benefits of homemade indulgences
In summary, choosing to indulge guilt-free with homemade desserts brings a wealth of benefits. You have complete control over the ingredients, allowing you to cut down on sugars and unhealthy fats while maximizing flavor. Plus, the act of creating these treats can be a delightful way to unwind after a busy week. According to a study by the American Journal of Lifestyle Medicine, cooking at home can enhance your well-being, making it a win-win situation!
Encouragement to experiment with your own recipes
Don’t be afraid to let your creativity shine! Experimentation is key when it comes to making your own guilt-free desserts. Think about swapping in healthier alternatives like almond flour or natural sweeteners. Before you know it, you’ll craft unique desserts that are not just tasty but also cater to your dietary preferences. So grab your whisk and start mixing—it’s all part of the delicious journey toward enjoying life’s sweetest moments! For inspiration, check out sites like AllRecipes or Minimalist Baker.
Indulge Guilt-Free: 10 Delicious Turkey Bacon & Chicken Ham Recipes

Discover amazing recipes that let you enjoy flavorful dishes without the guilt. These turkey bacon and chicken ham recipes are perfect for any meal.
- Prep Time: 15 minutes
- Cook Time: 20 minutes
- Total Time: 35 minutes
- Yield: 4 servings 1x
- Category: Main Dish
- Method: Skillet
- Cuisine: American
- Diet: Low-carb
Ingredients
- 4 slices turkey bacon
- 2 cups chopped chicken ham
- 1 tablespoon olive oil
- 1 teaspoon garlic powder
- 1 teaspoon onion powder
- 1 cup bell peppers
- 1 cup spinach
- 1 teaspoon black pepper
- 1 tablespoon fresh parsley
- ½ cup low-fat cheese
Instructions
- In a skillet, cook the turkey bacon until crispy.
- Remove the bacon and use the drippings to sauté the chopped chicken ham.
- Add olive oil, garlic powder, and onion powder to the skillet.
- Stir in bell peppers and spinach, cooking until tender.
- Crumble the cooked bacon and mix it back in.
- Season with black pepper and fresh parsley.
- Sprinkle cheese on top and cover until melted.
Notes
- Feel free to substitute vegetables based on your preference.
- Cheese can be omitted for a dairy-free option.
Nutrition
- Serving Size: 1 serving
- Calories: 250
- Sugar: 1g
- Sodium: 600mg
- Fat: 15g
- Saturated Fat: 5g
- Unsaturated Fat: 8g
- Trans Fat: 0g
- Carbohydrates: 5g
- Fiber: 2g
- Protein: 30g
- Cholesterol: 70mg
Keywords: Indulge Guilt-Free, Turkey Bacon, Chicken Ham, Recipes