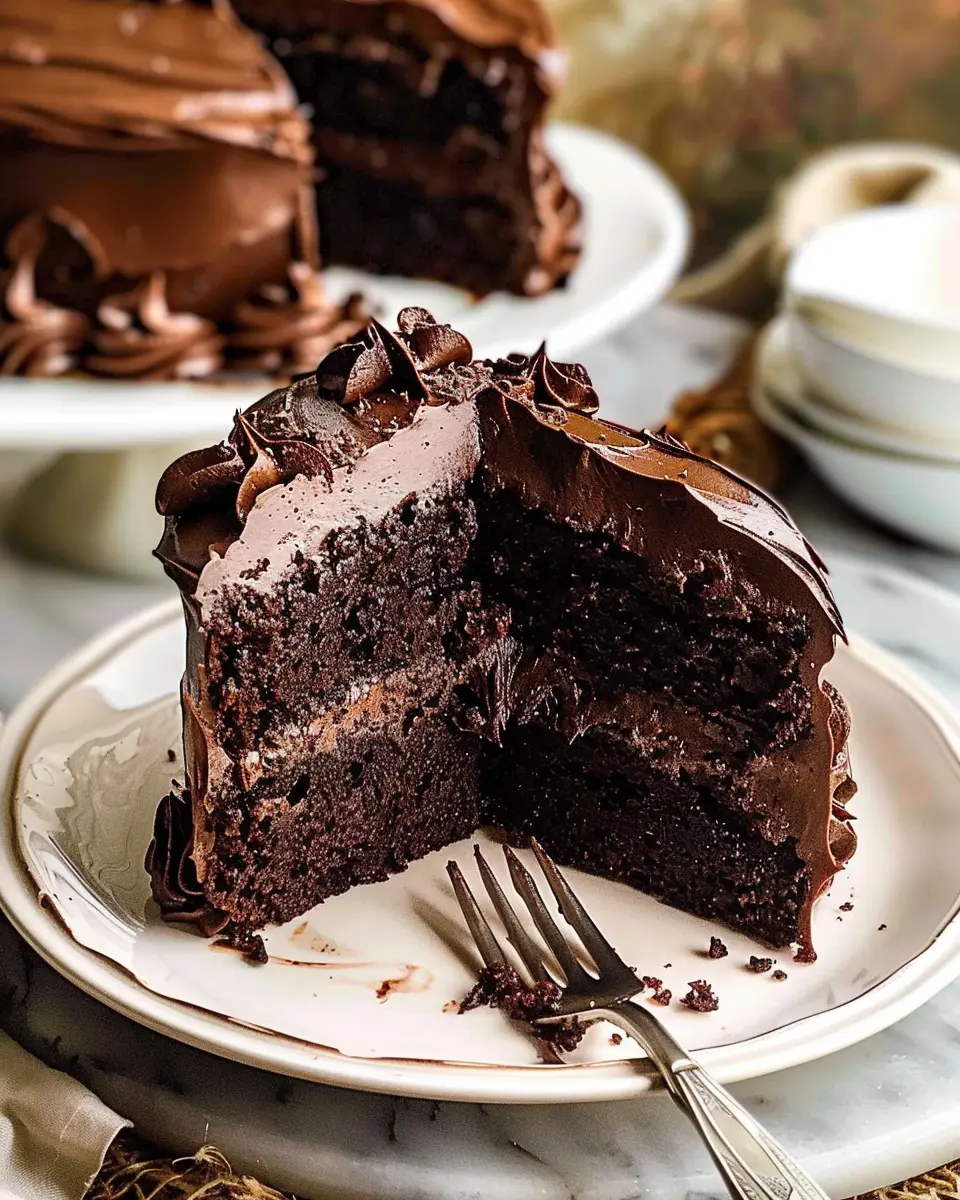
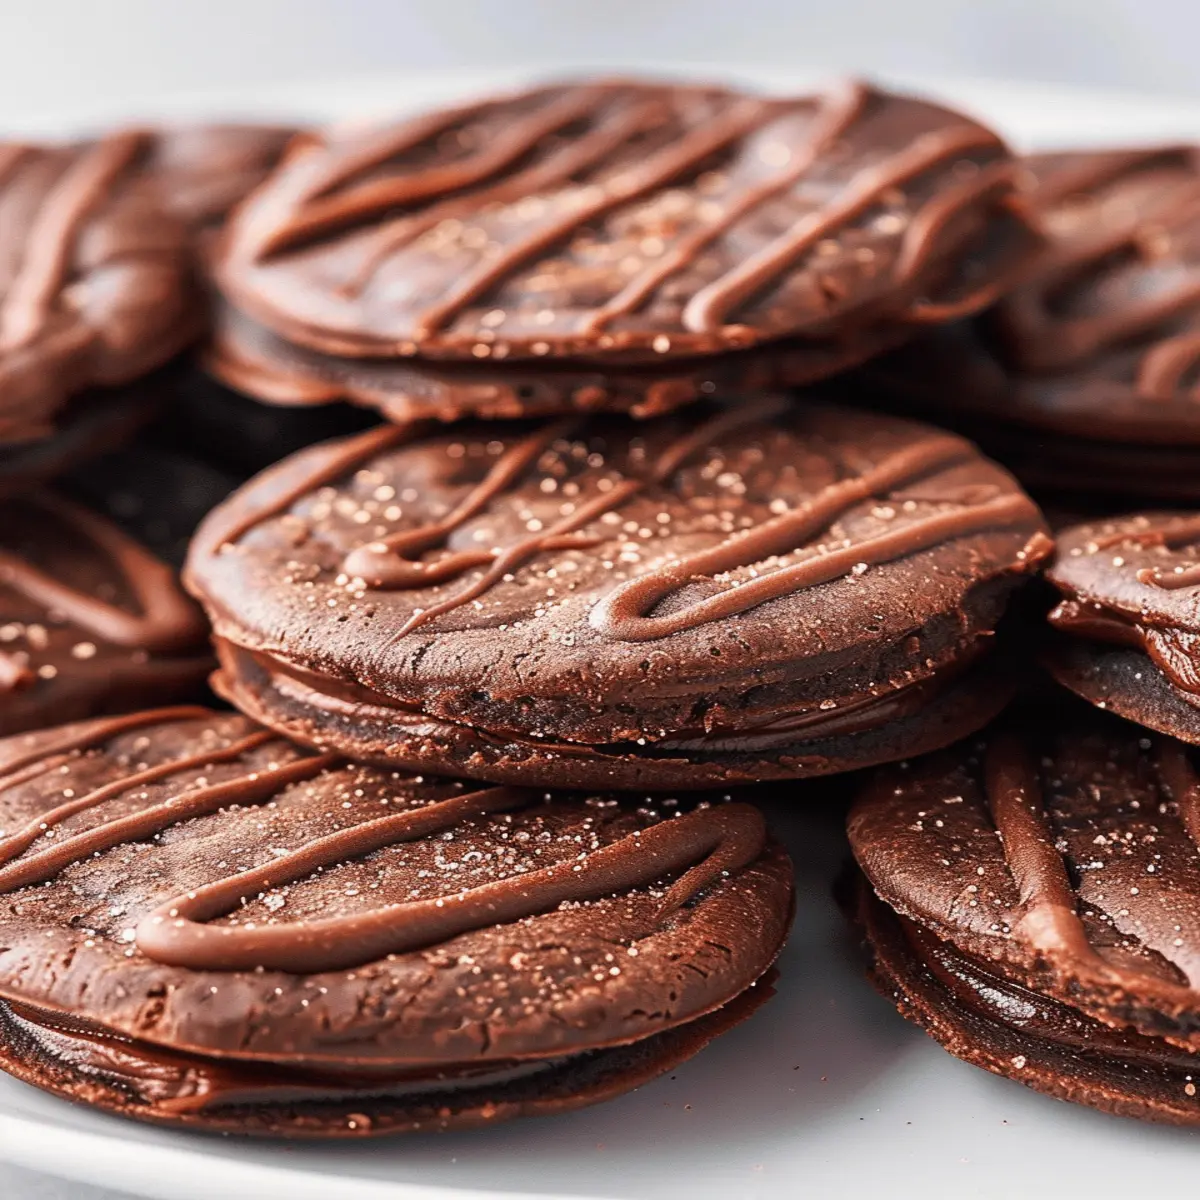
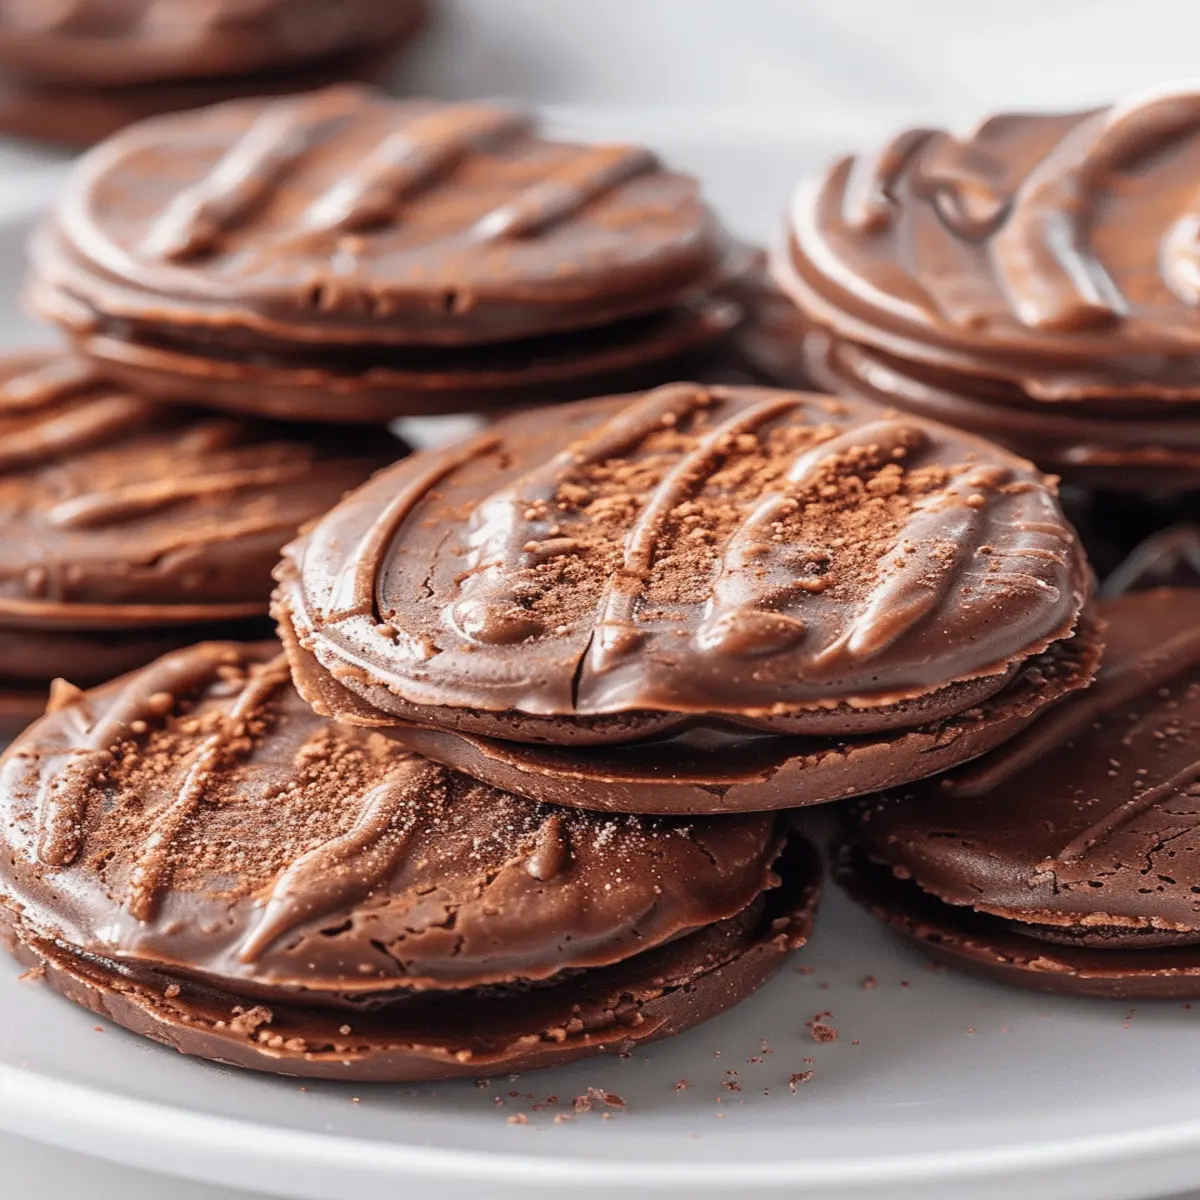
Introduction to Homemade Fudge Rounds Classic
If you’ve ever bit into a Fudge Round cookie and felt a wave of nostalgia wash over you, you’re not alone. About 40% of consumers report enjoying nostalgic treats that bring back childhood memories. But why settle for the store-bought version when you can create your very own homemade fudge rounds classic?
What makes homemade fudge rounds a must-try treat?
Homemade fudge rounds offer several irresistible benefits. Firstly, when you make them at home, you have complete control over the ingredients. That means no preservatives or unpronounceable additives—just pure, simple goodness. Plus, it’s a fun and creative process! Think about it: whipping up a chewy chocolate cookie, generously filling it with a creamy fudge frosting, and then dunking it in a layer of glossy chocolate. Can you think of a better way to wind down after a long day?
Here are a few compelling reasons to make your own fudge rounds:
- Freshness: There’s nothing quite like enjoying a treat fresh out of the oven. Store-bought versions may sit on the shelves for weeks, losing their delightful texture and flavor.
- Customization: Want a hint of sea salt on top? How about folding in some nuts or even a swirl of peanut butter in that fudge filling? The possibilities are endless!
- Cost-Effective: A batch of homemade fudge rounds classic is not just delicious; it’s also economical. For the price of a few packaged cookies, you can create an entire platter of homemade delights.
Making your own fudge rounds can also be a delightful way to bond with friends or family. Turn it into a fun baking night where everyone pitches in, creating cookie memories to last a lifetime. For more baking inspiration, check out resources like the King Arthur Baking Company, where you’ll find everything from tips to techniques.
So why not step into your kitchen and see what magic you can whip up? Your taste buds—and perhaps a few friends—will thank you!
Ingredients for Homemade Fudge Rounds Classic
Essential pantry staples
Creating your own homemade fudge rounds classic is easier than you might think! The beauty of this recipe lies in its simplicity, requiring just a few essential pantry staples. Here’s what you’ll need:
- All-purpose flour: The backbone of your cookie layers, providing structure.
- Unsweetened cocoa powder: For that rich chocolaty flavor we all crave.
- Granulated sugar: To sweeten the deal and enhance the cookies’ texture.
- Butter: Adds moisture and richness—unsalted is ideal for better control over flavors.
- Eggs: These help bind your ingredients, contributing to a soft, chewy texture.
- Baking soda: To give your fudge rounds that perfect rise and fluff.
Optional add-ins for extra flavor
Feeling adventurous? Consider enhancing your fudge rounds with some optional add-ins. These can take your recipe to the next level:
- Chocolate chips: Mix in semi-sweet or dark chocolate for gooey pockets of goodness.
- Nuts: Walnuts or pecans can add a delightful crunch if you’re a nut lover.
- Sea salt: A sprinkle can elevate the flavor profile, balancing sweetness and adding depth.
These small tweaks can transform your homemade fudge rounds classic into a customizable treat that reflects your personal tastes! Have fun experimenting, and don’t forget to check out this article on flavor pairings for even more inspiration. Happy baking!
Preparing Homemade Fudge Rounds Classic
Are you ready to take your taste buds on a delightful adventure? Making homemade fudge rounds classic can be a fun, rewarding experience. With layers of rich chocolate cookies and creamy fudge filling, it’s sure to remind you of your favorite childhood treats. Let’s roll up our sleeves and dive into this indulgent recipe!
Gather All Your Ingredients
Before you get started, it’s crucial to have everything on hand. Having your ingredients prepared can make the process flow smoothly. Here’s what you need for those blissful homemade fudge rounds classic:
-
For the chocolate cookies:
-
1 cup unsalted butter, softened
-
1 cup granulated sugar
-
1 cup brown sugar, packed
-
2 large eggs
-
1 teaspoon vanilla extract
-
3 cups all-purpose flour
-
1 cup cocoa powder
-
1 teaspoon baking soda
-
A pinch of salt
-
For the fudge filling:
-
1 cup semi-sweet chocolate chips
-
1/2 cup sweetened condensed milk
-
1/4 cup powdered sugar
-
1 teaspoon vanilla extract
Setting your kitchen up like a seasoned chef can save you time later. Check out this Guide on Baking Essentials to ensure you have everything you need.
Making the Fudge Filling
Let’s kick things off by creating that luscious fudge filling—that’s the star of the show!
- In a saucepan over low heat, combine the semi-sweet chocolate chips and sweetened condensed milk. Stir gently until the chocolate is melted and the mixture is smooth.
- Remove from heat and whisk in the powdered sugar and vanilla extract. Set this delicious filling aside to cool to room temperature.
While it’s easy to indulge in this filling as is, trust me, the finished fudge rounds are worth the wait!
Preparing the Chocolate Cookies
Now that your fudge filling is on its way to perfection, let’s whip up those chocolate cookies that will hold your delicious fudge.
- In a large mixing bowl, cream together the softened butter, granulated sugar, and brown sugar until light and fluffy.
- Add the eggs one at a time, mixing well after each addition. Follow with the vanilla extract.
- In another bowl, whisk together the flour, cocoa powder, baking soda, and salt. Gradually combine the dry mixture into the wet mixture, stirring until just incorporated.
Remember to preheat your oven to 350°F (175°C) while you mix the dough—this little trick ensures perfectly baked cookies!
Assembling the Fudge Rounds
As the cookies cool slightly, it’s time for the magic of assembly.
- Use a spoon or cookie scoop to portion out the cookie dough, rolling it into small balls (about one tablespoon each).
- Place them on a parchment-lined baking sheet, leaving enough room for them to spread while baking.
- Bake in the preheated oven for about 10-12 minutes. The cookies should be soft to the touch. Let them cool completely on a wire rack.
Once cooled, take one cookie and add a generous dollop of the fudge filling on the bottom side, and then top it off with another cookie. Gently press down to create the perfect ‘sandwich’—you’re almost there!
Chilling and Setting the Fudge Rounds
This is where the waiting game comes in, but it’s oh-so-worth-it!
- Place your assembled fudge rounds in the fridge for at least 30 minutes. This will help set the fudge filling and make the cookies rightfully delectable.
- For an extra touch of decadence, consider dipping the assembled cookies in melted chocolate before chilling.
Being patient will pay off; the flavors meld beautifully while chilling.
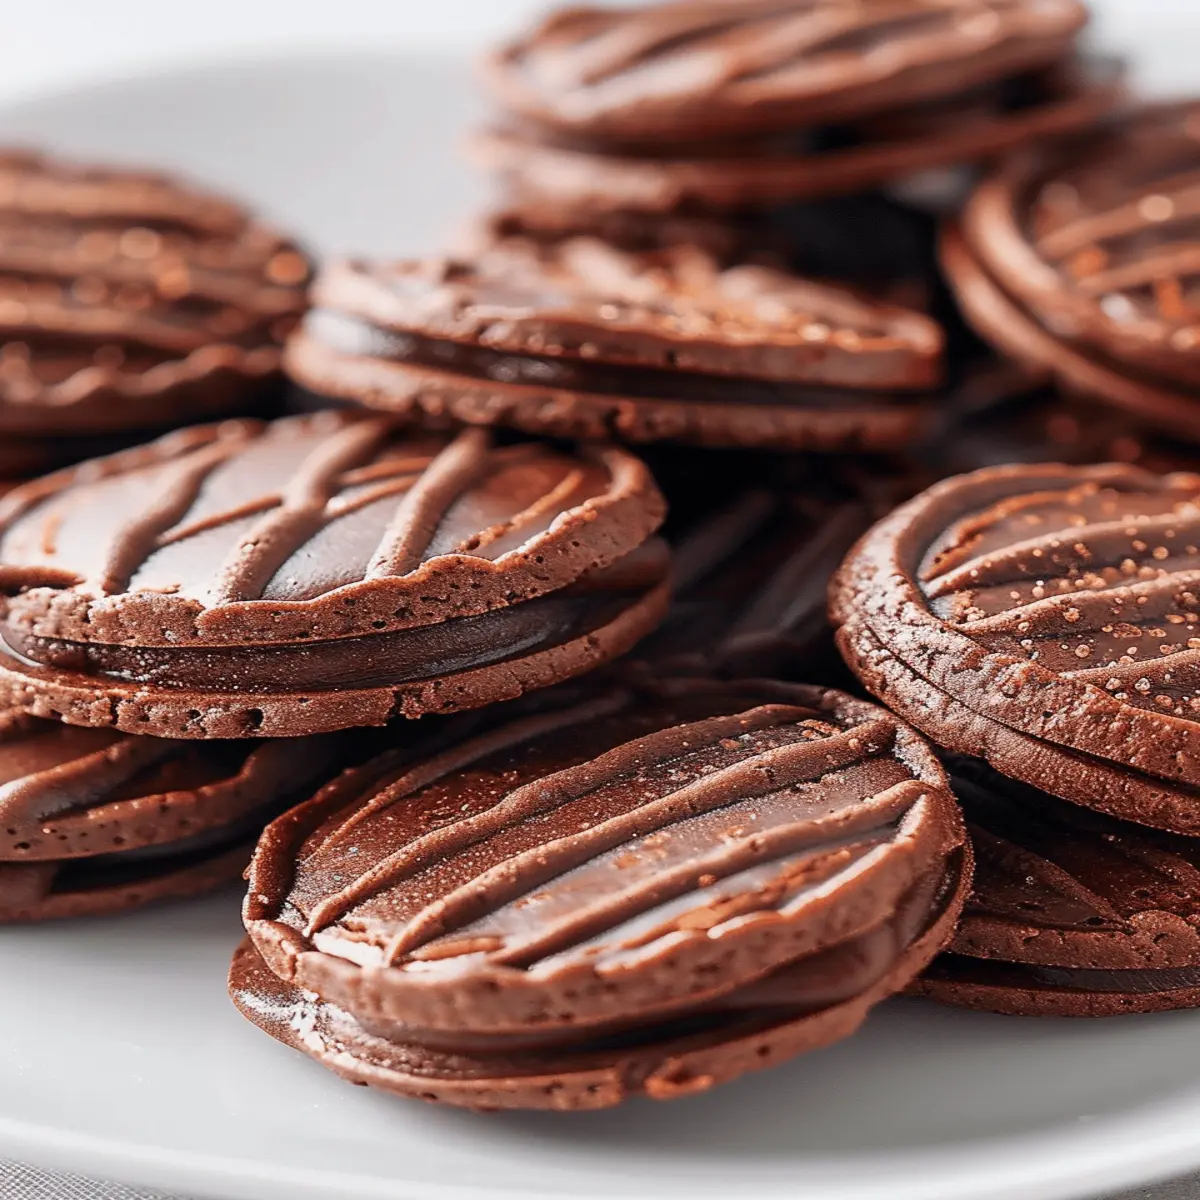
Once your homemade fudge rounds classic are chilled and set, go ahead and dig in! These treats are perfect for gatherings, or even for enjoying solo on a cozy night in. Want more baking tips and tricks? Check out Baker’s Secrets to elevate your culinary skills!
Variations on Homemade Fudge Rounds Classic
If you thought the homemade fudge rounds classic were delicious, just wait until you try these exciting variations! Each iteration brings a unique spin to the traditional recipe, allowing you to impress friends, family, or just indulge in something different. Let’s dive into two tantalizing options: peanut butter and mint chocolate.
Peanut Butter Fudge Rounds
Imagine biting into a rich fudge round, only to discover a creamy peanut butter filling instead of the classic. Sounds delightful, right? Here’s how to make this variation:
- Ingredients: Simply add ½ cup of peanut butter to your filling mixture.
- Instructions: After making the fudge and before assembling, mix the peanut butter with a bit of powdered sugar to achieve a thicker, spreadable consistency.
- Tip: For an extra treat, sprinkle some crushed peanuts on top before covering with the second fudge round for added crunch.
Peanut butter lovers unite! This option adds an irresistible depth of flavor that pairs perfectly with the chocolate.
Mint Chocolate Fudge Rounds
For those who enjoy a refreshing twist, consider creating mint chocolate fudge rounds. This variation is reminiscent of classic mint candies, making it a perfect treat for any occasion.
- Ingredients: Incorporate 1 teaspoon of peppermint extract into your fudge filling.
- Instructions: After spreading the fudge, drizzle melted dark chocolate on top and sprinkle crushed mint candies or chocolate mint cookies to enhance the minty flavor.
- Pro Tip: Let your rounds sit for a few hours in the fridge; this firm up the fudge while allowing the flavors to meld beautifully.
These mint chocolate wonders take your homemade fudge rounds classic to a whole new level! Whether you choose peanut butter or mint chocolate, you’re sure to create something delicious that will leave everyone craving more. For further inspiration, check out this peanut butter vs. mint flavoring guide to explore taste profiles.
Cooking tips and notes for Homemade Fudge Rounds Classic
Storing Your Fudge Rounds for Freshness
To keep your homemade fudge rounds classic tasting fresh, consider the storage method. Place them in an airtight container and separate layers with parchment paper to avoid sticking. You can keep them at room temperature for up to a week, but if you want to prolong their life, refrigerate them for up to two weeks or even freeze them for a couple of months. Just make sure to wrap them well! For tips on airtight containers, check out Food Storage Tips on the USDA website for safe practices.
Tips for Getting the Perfect Texture
Achieving that velvety texture is all about the details. Here are some pro tips:
- Use fresh ingredients: Higher quality cocoa and butter can make a world of difference.
- Don’t rush the mixing: Allow the batter to come together slowly; over-mixing can lead to a dense treat.
- Chill properly: After baking, let your fudge rounds cool completely before adding the ganache. This helps the layers set nicely.
By paying attention to these small but impactful steps, you’ll ensure your homemade fudge rounds classic come out soft and satisfying every time!
Serving suggestions for Homemade Fudge Rounds Classic
Pairing with Ice Cream
Imagine taking a bite of your homemade fudge rounds classic paired with a scoop of your favorite ice cream. The combination of rich fudge and creamy ice cream is simply heavenly. Try it with vanilla or mint chocolate chip for a delightful contrast. You can even create an ice cream sandwich by placing a scoop between two fudge rounds—quick and impressive! For an extra touch, drizzle some warm fudge sauce on top for a memorable dessert experience.
Perfect for Party Platters
Planning a gathering? These homemade fudge rounds classic are a guaranteed crowd-pleaser! Arrange them on a platter alongside fresh fruit and mini cupcakes for a colorful dessert display. You might want to add a selection of toppings, like crushed nuts or sprinkles, to encourage guests to customize their own treat. If you’re feeling fancy, serve them with a side of whipped cream or a fruit compote. This way, you cater to various tastes while keeping everyone talking about your delicious creations!
For more creative dessert ideas, check out resources on Food Network or explore fun party tricks on Bon Appétit.
Time breakdown for Homemade Fudge Rounds Classic
When you’re ready to bring the magic of homemade fudge rounds classic to your kitchen, knowing the time needed can help streamline your process. Here’s a quick breakdown:
Preparation time
Gathering your ingredients and crafting that delectable chocolate mixture takes about 20 minutes. It’s the perfect time to enjoy a podcast or put on some music to set the baking mood.
Chilling time
For the best texture and flavor, letting your fudge rounds chill in the fridge is essential. This will take around 60 minutes. It’s the ideal moment to tidy up your kitchen or catch up on that show everyone has been raving about.
Total time
In total, you’re looking at roughly 80 minutes from start to finish. However, the satisfaction of biting into your own homemade fudge rounds classic will make it all worthwhile!
For tips on preparing your favorite treats, check out Serious Eats for some inspiration on kitchen hacks.
Nutritional facts for Homemade Fudge Rounds Classic
When you’re indulging in homemade fudge rounds classic, it’s great to know what you’re enjoying. Let’s break down the essential nutritional facts so you can savor each bite with confidence.
Calories per serving
Each serving of your delightful fudge rounds typically packs around 150 calories. A satisfying treat that won’t completely derail your day!
Sugar content
These sweet rounds contain about 12 grams of sugar per serving. While that’s a bit of a sugar rush, it’s all about balance, right? Treating yourself occasionally can be a part of a healthy diet.
Suggested serving size
Feeling like a snack? A single fudge round is the perfect serving size for a cozy afternoon pick-me-up or a sweet ending to your dinner.
Want to explore more about sugar intake and healthy dessert options? Check out resources like the American Heart Association for insights!
Now that you’re in the know about the nutritional facts, you can enjoy your homemade fudge rounds classic guilt-free. Happy baking!
FAQs about Homemade Fudge Rounds Classic
If you’re diving into the delicious world of homemade fudge rounds classic, you may have a few questions. Let’s tackle some common queries to ensure your baking adventure is a sweet success!
How do I store leftover fudge rounds?
Keeping your fudge rounds fresh is key to enjoying them over time. Here’s how to do it:
- Room Temperature: Store in an airtight container for up to a week.
- Refrigerator: If you want to extend shelf life, place them in the fridge for up to two weeks. Just note that they might firm up a bit.
- Freezing: For longer storage, wrap each round in plastic wrap and place them in a freezer bag. They can last for up to three months! To enjoy, simply thaw at room temperature.
Can I use gluten-free flour for the cookies?
Absolutely! You can easily substitute regular flour with a high-quality gluten-free blend. Just look for blends that contain xanthan gum, as it helps mimic the texture of traditional flour. Many home bakers swear by brands like Bob’s Red Mill or King Arthur Flour for excellent results.
What’s the best way to melt chocolate for this recipe?
Melting chocolate can be tricky, but here are some foolproof methods:
- Double Boiler Method: Fill a pot with a bit of water and place a heat-safe bowl on top. Make sure the bowl doesn’t touch the water. Stir chocolate until smooth.
- Microwave: Place chopped chocolate in a microwave-safe bowl. Heat in 30-second intervals, stirring in between until completely melted. This method is quick and perfect for when you’re short on time!
For more tips on chocolate melting techniques, consider checking Serious Eats.
With these FAQs in mind, your journey to make homemade fudge rounds classic should be both enjoyable and delicious. Happy baking!
Conclusion on Homemade Fudge Rounds Classic
Why Homemade Fudge Rounds Are Worth It
When it comes to satisfying your sweet tooth, homemade fudge rounds classic truly stand out. Crafting these treats in your own kitchen not only enhances the flavor but also allows you to control the ingredients. Imagine biting into a soft, cocoa-rich cookie with luxurious fudge filling—it’s simply unbeatable.
Moreover, the joy of baking can be a delightful way to unwind after a long day. A study from the American Psychological Association suggests that cooking can reduce stress levels. Sharing these homemade delights with friends and family can also elevate your social gatherings and create memories.
So why wait? Embrace the homemade goodness today, and you might just find that these fudge rounds become a go-to indulgence in your recipe repertoire. Discover more about baking tips and tricks from sources like King Arthur Baking to elevate your skills even further!
Homemade Fudge Rounds Classic: The Best Treat You’ll Love!

Learn how to make the classic homemade fudge rounds that everyone loves. This delightful treat is perfect for any occasion!
- Prep Time: 15 minutes
- Cook Time: 25 minutes
- Total Time: 40 minutes
- Yield: 12 servings 1x
- Category: Desserts
- Method: Baking
- Cuisine: American
- Diet: Vegetarian
Ingredients
- 1 cup unsweetened cocoa powder
- 2 cups granulated sugar
- 1/2 cup unsalted butter
- 1 teaspoon vanilla extract
- 2 large eggs
- 2 cups all-purpose flour
Instructions
- Preheat your oven to 350°F (180°C).
- In a mixing bowl, combine cocoa powder, sugar, and melted butter.
- Add in vanilla and eggs, and mix until smooth.
- Gradually stir in the flour until fully incorporated.
- Pour the batter into a greased baking pan.
- Bake for 20-25 minutes or until a toothpick comes out clean.
- Let cool before cutting into squares.
Notes
- For an extra touch, sprinkle sea salt on top before serving.
- Can be stored in an airtight container for up to a week.
Nutrition
- Serving Size: 1 square
- Calories: 250
- Sugar: 21g
- Sodium: 80mg
- Fat: 12g
- Saturated Fat: 7g
- Unsaturated Fat: 4g
- Trans Fat: 0g
- Carbohydrates: 34g
- Fiber: 1g
- Protein: 3g
- Cholesterol: 45mg
Keywords: Homemade Fudge Rounds, Classic Treats, Desserts