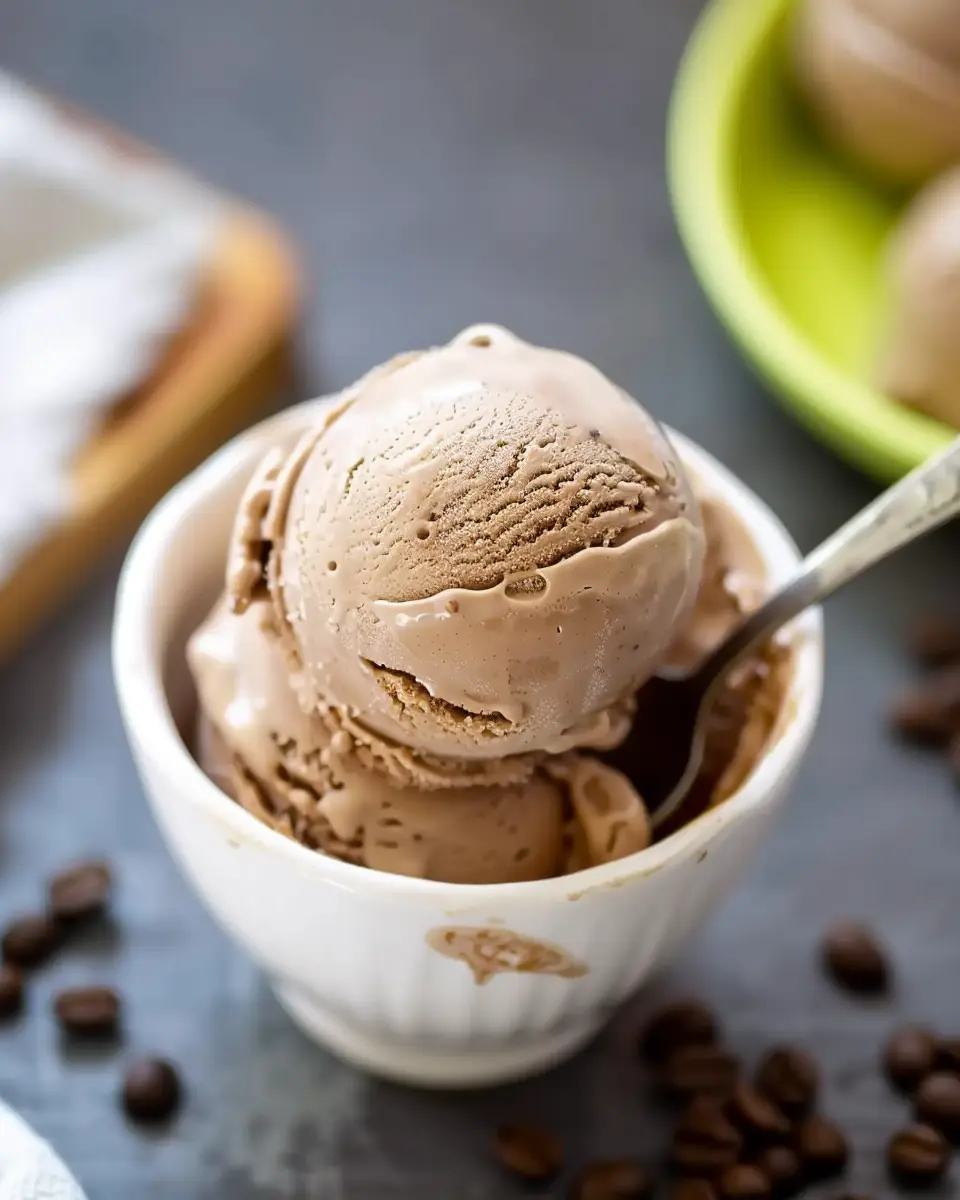
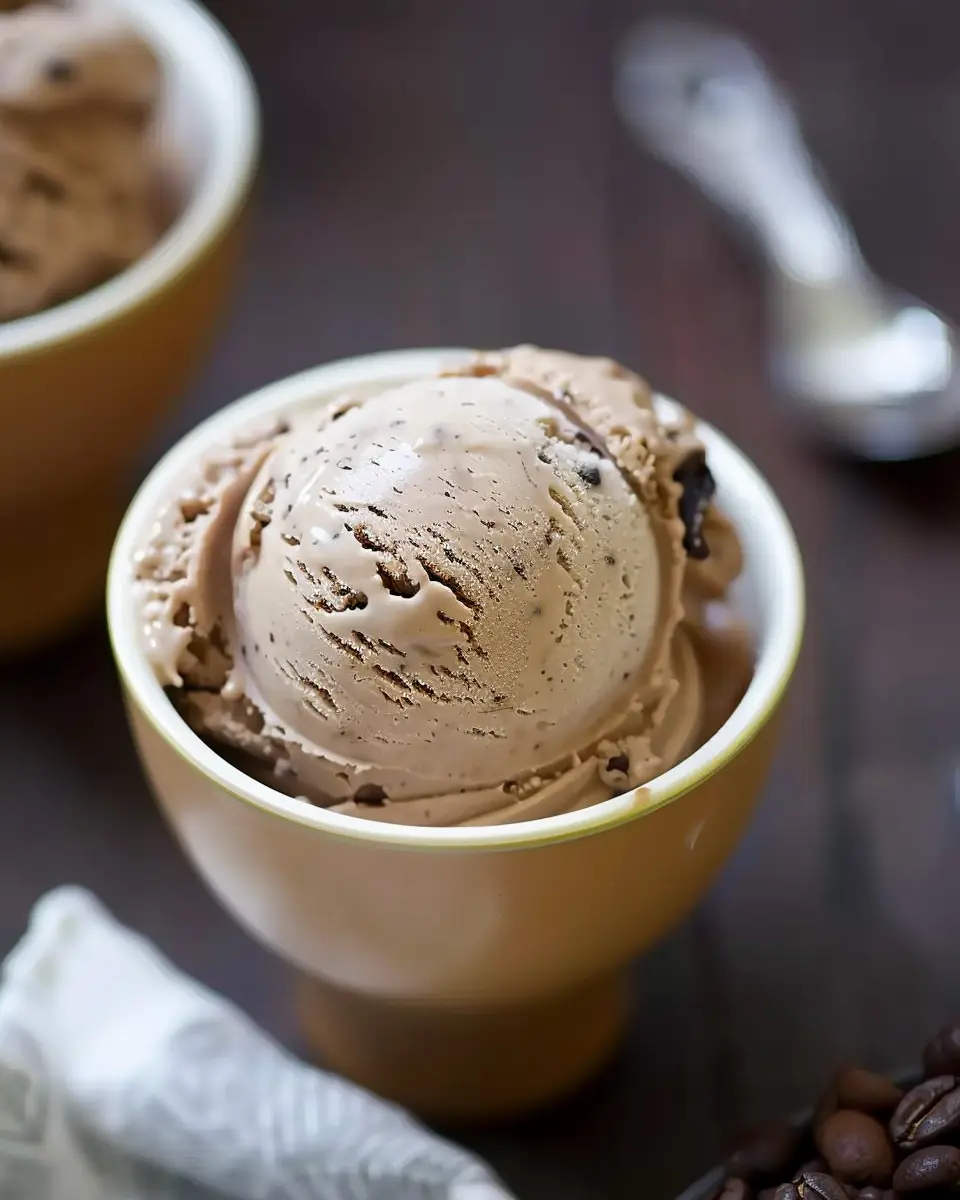
Introduction to Bold and Bracing Coffee Ice Cream
If you’re a homemade dessert enthusiast, you’ve likely dabbled in various flavors of ice cream, but have you ever tried bold and bracing coffee ice cream? This delightful treat not only satisfies your sweet tooth but also awakens your senses, making it a unique addition to your dessert repertoire. Combining the rich, aromatic flavors of coffee with the creamy, chilly goodness of ice cream creates a dessert that is both refreshing and decadent.
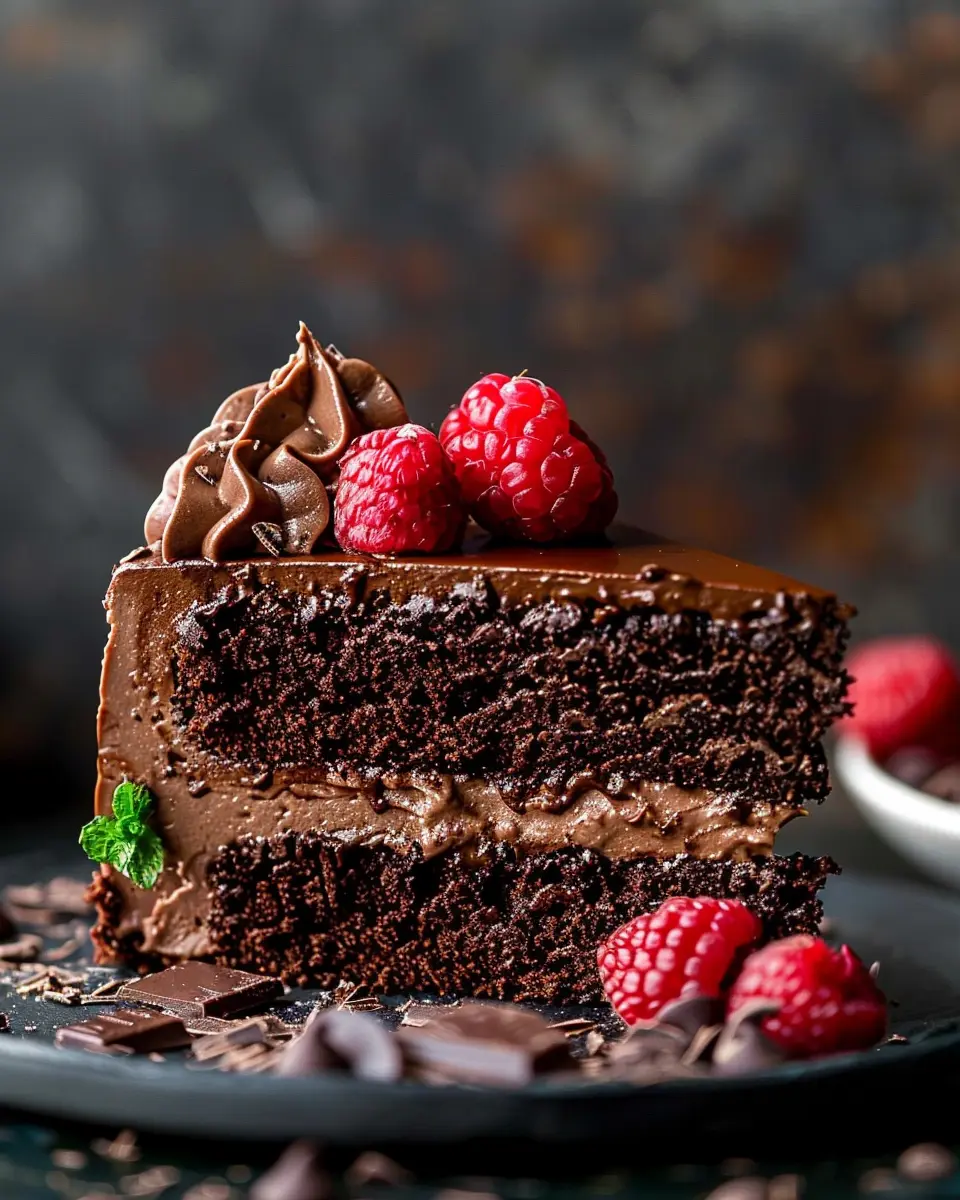
Why is coffee ice cream a must-try for homemade dessert lovers? For starters, it’s incredibly versatile. Whether paired with a slice of chocolate cake or enjoyed on its own, the depth of flavor makes it a fantastic choice for numerous occasions. Coffee lovers will appreciate that this dessert truly captures the essence of their favorite drink. Moreover, coffee ice cream can be a great alternative to traditional desserts, providing a complex flavor profile that can elevate even the simplest of gatherings.
Making your own coffee ice cream allows you to experiment with different coffee beans, ensuring the final flavor aligns perfectly with your palate. You could opt for a bold espresso roast for a more intense flavor or a smooth medium roast for a milder taste. Don’t forget to check out resources like Specialty Coffee Association if you’re interested in selecting the best beans available.
And here’s a fun fact: did you know that coffee can actually enhance the perception of sweetness in your desserts? While it might seem counterintuitive, the interplay between coffee’s bitterness and sugar creates a balanced taste that keeps you coming back for more. This unique characteristic is what makes our bold and bracing coffee ice cream not just another sweet treat, but an experience worth indulging in.
In this recipe article, we’ll guide you through each step to make this luscious ice cream, so you can enjoy the rich flavors of coffee anytime you crave it. Are you ready to take your homemade ice cream game to the next level? Let’s dive into the recipe!
Ingredients for Bold and Bracing Coffee Ice Cream
Creating your own bold and bracing coffee ice cream at home is not only rewarding but also a treat that coffee lovers can’t resist. Here’s what you’ll need to whip up this delightful dessert:
- 2 cups heavy cream: The key to that creamy texture.
- 1 cup whole milk: Balances richness and lightness.
- 3/4 cup granulated sugar: Sweetness that complements the coffee.
- 1 tablespoon vanilla extract: A hint of warmth and depth.
- 1 cup strong brewed coffee: Your favorite blend, chilled.
- 1 tablespoon instant coffee granules (optional): For an extra flavor kick.
- Pinch of salt: Enhances and balances flavors.
When selecting your coffee, consider going for specialty roasts or blends to elevate your dessert. If you’re unsure which type to use, check out Coffee Review for insights on various beans and blends.
With these ingredients on hand, making your own bold and bracing coffee ice cream isn’t just simple—it’s a fun culinary adventure!
Preparing Bold and Bracing Coffee Ice Cream
Creating your own homemade bold and bracing coffee ice cream can be a rewarding experience that adds a unique personal touch to your dessert repertoire. The delight of crafting a creamy, coffee-infused treat is hard to beat. Follow this step-by-step guide to transform simple ingredients into a delectable frozen treat that will impress your friends and satisfy your cravings.
Gather all necessary ingredients
Before diving into the process, take a moment to gather your ingredients. You’ll want them all handy to ensure a smooth workflow. Here’s what you need:
- 2 cups heavy cream
- 1 cup whole milk
- 1 cup granulated sugar
- 3 large egg yolks
- 1 tablespoon pure vanilla extract
- 1 cup freshly brewed bold coffee (cooled)
- A pinch of sea salt
By using high-quality ingredients, particularly your coffee, you’re ensuring that your homemade ice cream achieves that bold flavor you’re craving. A strong brew, such as espresso or a dark roast, works beautifully here.
Whisk together the base mixture
Now that you’re all set, let’s get that base mixture going! Start by combining the heavy cream, whole milk, and sugar in a medium saucepan. Whisk the mixture gently over medium heat until the sugar completely dissolves. The goal here is not to bring it to a boil, just enough heat to create a lovely, smooth base.
Here’s a little tip: if you’re looking to elevate your coffee ice cream further, consider adding a few tablespoons of crushed chocolate-covered espresso beans at this stage. Not only does it add texture, but it also gives an extra punch of flavor.
Cook the custard to perfection
Once your base mixture is nice and warm, it’s time to create your custard. In a bowl, whisk the egg yolks separately until they become pale and slightly thickened. Gradually pour a small amount of the warm mixture into the egg yolks while whisking continuously. This is called tempering and prevents the yolks from scrambling when added to the hot mixture.
Afterward, slowly pour the egg mixture back into the saucepan. Cook over low heat, stirring constantly, until the mixture thickens enough to coat the back of a wooden spoon. You’re looking for a velvety texture that speaks of luxury, typically around 170-175°F.
Chill the custard before churning
Once your custard is cooked, strain it through a fine-mesh sieve into a large bowl. This will remove any cooked egg bits. Stir in the cooled brewed coffee and vanilla extract, followed by that pinch of sea salt to enhance all those beautiful flavors.
Now comes the hardest part: patience. Cover your custard with plastic wrap, ensuring it touches the surface to prevent a skin from forming, and let it chill in the refrigerator for at least 4 hours or overnight. The longer it chills, the richer and bolder the flavors will develop.
Churn in your ice cream maker
When you’re ready to transform your indulgent mixture into bold and bracing coffee ice cream, take out your chilled custard and give it a good stir. Pour it into your ice cream maker and churn according to the manufacturer’s instructions. Typically, this will take about 20-30 minutes.
You want it to achieve a soft-serve consistency, full of air and creaminess. If you’re in the market for an ice cream maker, check out Serious Eats for their guide on choosing the best one for your needs.
Freeze until firm
Once you’ve churned that custard, transfer it into an airtight container, smoothing the top down. For the perfect scoop, freeze it for at least 4 hours, letting it firm up. When ready to serve, let it sit at room temperature for about 5-10 minutes for easier scooping.
And there you have it! The art of making bold and bracing coffee ice cream is straightforward and downright fun. Whether served in a cone, alongside a slice of pie, or simply by itself, this homemade treat is sure to become a staple in your dessert lineup! Enjoy the delightful experience of sipping coffee while savoring the creamiest treat straight from your kitchen. Happy churning!
Variations on Bold and Bracing Coffee Ice Cream
If you thought our bold and bracing coffee ice cream recipe was delightful on its own, wait until you try these creative variations! Not only do they elevate the classic flavor, but they also introduce unexpected elements that will leave your taste buds craving more. Let’s dive in!
Espresso Chocolate Chip Coffee Ice Cream
For a delicious twist, consider adding espresso and chocolate! This version combines the classic flavor of coffee with rich chocolate chips, making it irresistible.
- Ingredients: Use your base coffee ice cream mix and add:
- 1 cup of finely ground espresso
- ½ cup of semi-sweet chocolate chips
- Method: Brew your espresso and mix it into the base. As the mixture churns in the ice cream maker, add the chocolate chips in the final minutes of churning. The result? An indulgent espresso-infused ice cream with delightful chocolate bursts!
Coffee Caramel Swirl Ice Cream
Imagine velvety caramel ribbons dancing through your bold and bracing coffee ice cream. This variation is perfect for those who adore the sweet and salty combo.
- Ingredients: Stick to your original coffee base and incorporate:
- ¾ cup of homemade or store-bought caramel sauce
- Method: Once your coffee ice cream has churned to a soft-serve consistency, swirl in the caramel sauce before transferring it to the freezer. The contrasting textures of the creamy coffee and thick caramel will create a majestic ice cream experience!
So, which variation will you try first? Dive into the delicious world of coffee ice cream and indulge your senses! For more inspiration on ice cream flavors, check out this guide on popular ice cream varieties here.
Cooking Tips and Notes for Bold and Bracing Coffee Ice Cream
Creating the perfect bold and bracing coffee ice cream at home is truly a labor of love. Here are some friendly tips to guide you through the process and ensure your dessert is a hit.
Choose Your Beans Wisely
The quality of your coffee beans can make a significant difference. Select a strong, high-quality coffee, preferably freshly roasted. A light roast can offer a more complex flavor profile, while a dark roast will give you that deep, rich taste. Consider trying specialty coffee from resources like Coffee Review for recommendations.
Temperature Control is Key
When mixing the ingredients, make sure everything is chilled before you begin. If your mixture is too warm, it can lead to ice crystals forming in your coffee ice cream, which can affect the creaminess. An ice bath can work wonders!
Don’t Rush the Freezing Process
Patience is your friend! Freezing the mixture slowly helps create a smoother texture. Try to churn the ice cream for about 30 minutes, then transfer it to an airtight container. A quick recommendation: use a shallow container—this promotes even freezing.
Follow these tips, and you’ll be well on your way to enjoying a delightful bowl of homemade bold and bracing coffee ice cream! For more inspiring ideas, check out America’s Test Kitchen for expert advice and recipes.
Serving Suggestions for Bold and Bracing Coffee Ice Cream
When it comes to enjoying your bold and bracing coffee ice cream, think beyond the scoop in a bowl. Here are some delightful serving suggestions that can elevate your coffee indulgence to new heights.
Pair with Decadent Toppings
- Chocolate Sauce: A drizzle of rich chocolate sauce can balance the strong coffee flavor, adding a touch of sweetness that complements the bitterness beautifully.
- Nuts: Consider adding some toasted almonds or hazelnuts for a crunchy texture and nutty undertones. Did you know that nuts can also enhance the flavor profile of coffee? It’s a match made in heaven!
Create an Ice Cream Float
How about whipping up an ice cream float? Just pour a splash of cold, brewed coffee or a milk alternative over your scoop of bold and bracing coffee ice cream. This creates a delightful blend of flavors and is perfect for those warm afternoons.
Serve with Savory Bites
For a unique twist, try pairing your ice cream with savory treats like turkey bacon or even some chicken ham. This unexpected mix can create a sophisticated palate experience.
Whether you’re hosting friends or enjoying a cozy night in, these suggestions will help you enjoy your icy treat while impressing your guests. Want more tips and tricks on enjoying coffee desserts? Check out CoffeeAffection for some fantastic ideas!
Time breakdown for Bold and Bracing Coffee Ice Cream
When you’re craving a sweet, coffee-infused treat, knowing how long each step takes can help you plan better. Here’s the time breakdown for making your delicious bold and bracing coffee ice cream!
Preparation time
You’ll need about 15-20 minutes to gather your ingredients and whip them together. This includes brewing your favorite coffee to achieve that rich flavor.
Cooking time
The actual cooking time is relatively short—10-15 minutes—for combining everything on the stovetop until it thickens.
Total time
Don’t forget, you’ll need to allow your ice cream to chill in the freezer! Overall, plan for about 4-6 hours of chilling time before serving. All in all, you’re looking at around 5 hours from start to enjoying your treat!
For more tips on perfectly churning ice cream, check out this helpful guide to make your endeavors a success!
Nutritional facts for Bold and Bracing Coffee Ice Cream
When indulging in Bold and Bracing Coffee Ice Cream, it’s essential to be aware of its nutritional profile to enjoy it guilt-free.
Calories
Each serving of this delightful treat contains approximately 150 calories. While that’s not too hefty, it’s wise to enjoy it as a special treat rather than a daily staple.
Fat content
With about 8 grams of fat per serving, this ice cream offers that creamy indulgence we love. Looking for lower-fat options? You might consider swapping ingredients; perhaps using low-fat milk could help!
Sugar levels
Rounding it off, each scoop has around 12 grams of sugar. If you’re watching your sugar intake, try to savor smaller portions or explore alternative sweeteners.
As with any delectable dessert, balance is key. Consider pairing your ice cream with fresh fruits or nuts for added nutrients and flavor. Remember, life is too short not to enjoy your favorite treats—just do it mindfully! For even more in-depth nutrition advice, check out Nutrition.gov.
FAQs about Bold and Bracing Coffee Ice Cream
Can I use decaf coffee for this recipe?
Absolutely! If you’re looking to enjoy the rich flavors of bold and bracing coffee ice cream without the caffeine kick, decaf coffee is a great alternative. The essential oils and flavors remain intact, providing that delicious coffee taste you’re craving. Just make your favorite decaf brew and follow the same steps as you would with regular coffee for a delightful treat any time of day!
What’s the best way to store homemade ice cream?
Storing your homemade bold and bracing coffee ice cream properly ensures it remains creamy and flavorful. Place it in an airtight container to minimize exposure to air and prevent freezer burn. For optimal texture, cover the surface with a layer of plastic wrap before sealing the lid. When freezing, aim for a temperature of 0°F (-18°C) or below. Homemade ice cream can last about 2–4 weeks in the freezer, though it’s best enjoyed fresh.
How can I make this ice cream dairy-free?
Transforming your bold and bracing coffee ice cream into a dairy-free delight is easier than you might think! Simply substitute dairy milk and cream with coconut milk or almond milk. For a creamy texture, opt for full-fat coconut milk; it mimics richness beautifully while adding subtle flavors. There are also fantastic dairy-free cream alternatives available; just be sure to check the sugar content if you’re watching it. You can keep the coffee essence intact and enjoy a delightful treat that fits your dietary preferences!
For more ice cream wisdom, check out The Ice Cream Journal for tips and inspiration!
Conclusion on Bold and Bracing Coffee Ice Cream
In sum, bold and bracing coffee ice cream is not just a treat; it’s an experience that transports you to your favorite café with each velvety scoop. This recipe allows you to play with flavors, making it perfectly customizable—whether you prefer a hint of dark chocolate or a sprinkle of sea salt.
Consider serving it alongside a warm dessert for an exciting contrast or enjoy it directly from the tub on a chill night. Remember, the richness of your ingredients will shine through, so opt for high-quality coffee beans. Explore more variations in our extensive section on delightful ice cream recipes to keep the flavors fresh and exciting! Keep your ice cream maker handy; you’ll be making this sweet treat all summer long!
Bold and Bracing Coffee Ice Cream: An Indulgent Treat at Home
A rich and creamy coffee ice cream recipe that you can easily make at home, perfect for coffee lovers.
- Prep Time: 10 minutes
- Total Time: 4 hours 10 minutes
- Yield: 4 servings 1x
- Category: Dessert
- Method: Churn
- Cuisine: American
- Diet: Vegetarian
Ingredients
- 2 cups heavy cream
- 1 cup whole milk
- 3/4 cup granulated sugar
- 1 cup brewed coffee, cooled
- 1 tablespoon vanilla extract
- 1/2 teaspoon salt
Instructions
- In a large bowl, whisk together the heavy cream, whole milk, sugar, brewed coffee, vanilla extract, and salt until the sugar is dissolved.
- Pour the mixture into an ice cream maker and churn according to the manufacturer’s instructions until it reaches a soft-serve consistency.
- Transfer the ice cream to an airtight container and freeze for at least 4 hours until firm.
Notes
- For a more intense coffee flavor, use espresso instead of brewed coffee.
- Consider adding chocolate chips or nuts for added texture.
Nutrition
- Serving Size: 1/2 cup
- Calories: 300
- Sugar: 23g
- Sodium: 50mg
- Fat: 22g
- Saturated Fat: 14g
- Unsaturated Fat: 6g
- Trans Fat: 0g
- Carbohydrates: 25g
- Fiber: 0g
- Protein: 3g
- Cholesterol: 80mg
Keywords: coffee ice cream, homemade ice cream, dessert, coffee dessert