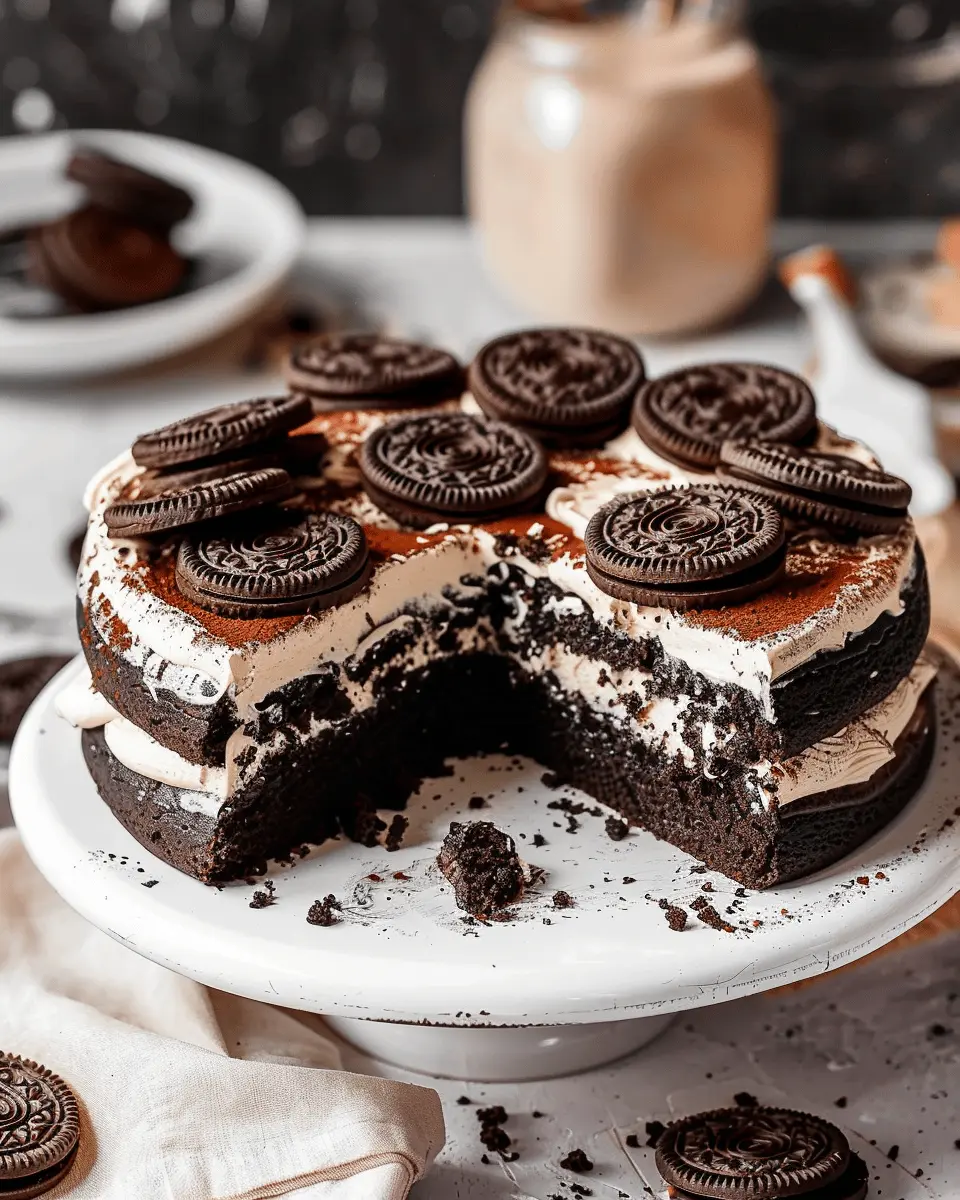
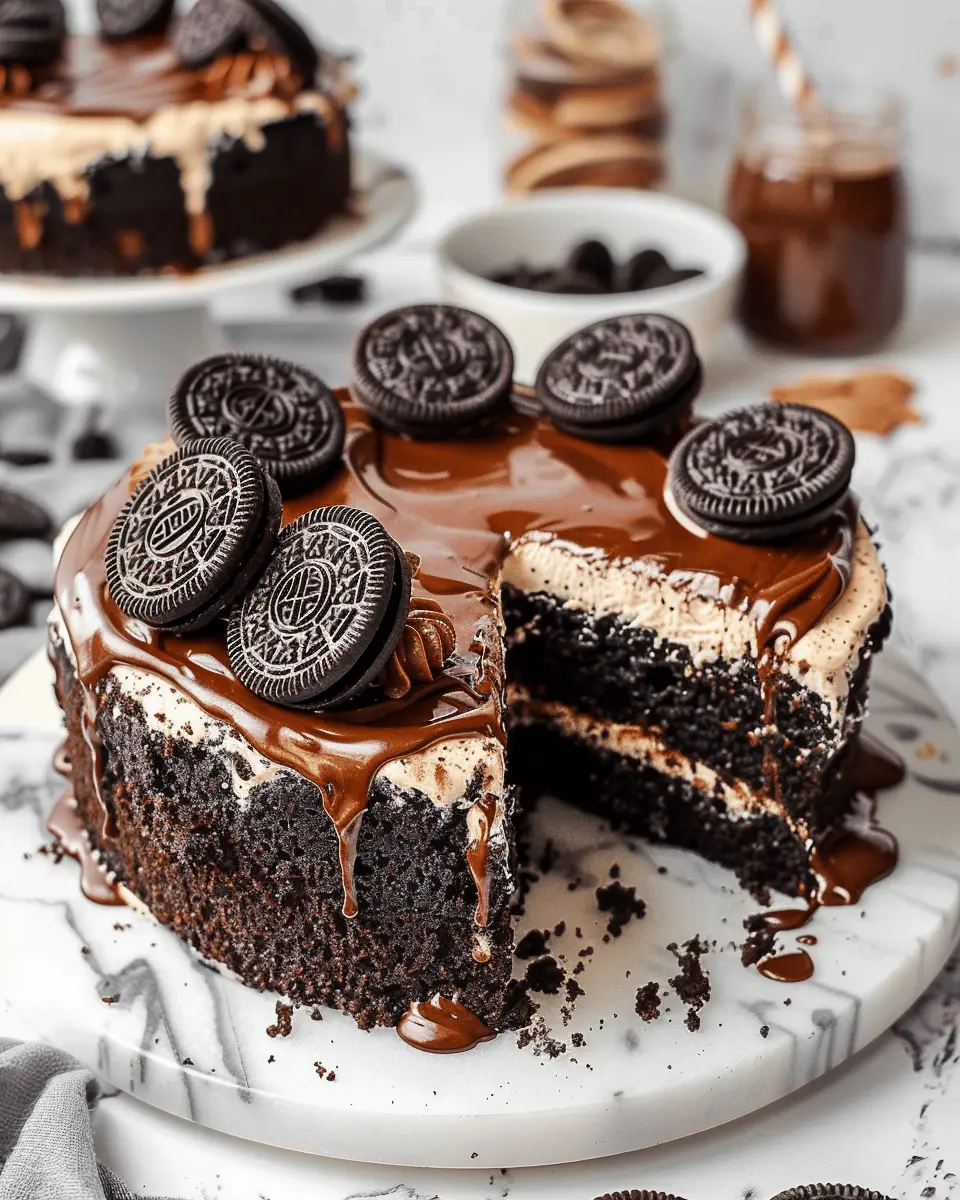
Introduction to Learning How to Make Oreo Biscuit Cake
Oreo Biscuit Cake is more than just a delightful dessert; it’s a nostalgic treat that resonates with many of us. If you’re in your 20s or 30s, you likely grew up discovering the joy of dunking Oreo cookies in milk. This recipe takes that beloved experience to new heights, transforming simple ingredients into an unforgettable cake that’s perfect for celebrating milestones or simply enjoying on a cozy evening at home.
Why Oreo Biscuit Cake is the Perfect Treat for Young Professionals
As a busy young professional, finding time to indulge in your culinary interests can feel daunting. Between meetings, deadlines, and socializing, it’s easy to overlook the little joys—like baking. Learning how to make Oreo biscuit cake offers a fantastic solution.
-
Quick and Simple: This cake can be whipped up in under an hour, making it ideal for those with tight schedules. No elaborate preparations or long baking times here!
-
Minimal Ingredients: Using just a handful of readily available ingredients, you can create a treat that feels indulgent without breaking the bank. It’s a perfect opportunity to showcase your kitchen skills while remaining budget-friendly.
-
Impressive Yet Easy: When you bring this cake to a gathering or share it with friends, you’ll receive compliments galore. No one needs to know how easy it was to make!
-
Versatile Base: You can customize your cake with various toppings and fillings. Whether you choose to add a creamy frosting or throw in some chocolate chunks, the options are endless!
The emotional value of baking is supported by studies indicating that cooking can reduce stress and boost happiness (source: Psychology Today). So, when you dive into making this delicious cake, you’re not just treating your taste buds—you’re also nurturing your well-being.
As you embark on this sweet adventure, you may find yourself reminiscing about your childhood (remember those cookie-crunching moments?). With every bite of your homemade Oreo Biscuit Cake, you’ll not only satisfy your cravings but also enjoy the journey of baking. Ready to dive in? Let’s learn how to make Oreo biscuit cake that will impress your friends and elevate your dessert game!
Ingredients for Oreo Biscuit Cake
If you’re ready to treat yourself and your friends to a delightful dessert, you’re in for a sweet surprise! To learn how to make Oreo biscuit cake, gather these essential ingredients:
- Oreo biscuits: About 24-30 cookies, crushed (the star of the show!)
- Condensed milk: 1 can (this adds rich sweetness and moisture)
- Butter: 100 grams, melted (for that luscious texture)
- Baking powder: 1 teaspoon (to give your cake a gentle rise)
- Milk: 1/2 cup (to adjust the batter consistency)
- Vanilla extract: 1 teaspoon (for that aromatic flavor)
These ingredients combine to create a deliciously moist cake that’s perfect for any occasion. Think about experimenting with toppings, like whipped cream or extra crushed Oreos, to add your personal touch. Once you’re equipped with these staples, you’ll be well on your way to baking your very own Oreo biscuit cake. For inspiration on variations, check out this guide on dessert creativity from Food52. Enjoy the baking process — it’s just as fun as the eating!
Step-by-Step Preparation of Oreo Biscuit Cake
Making an Oreo Biscuit Cake is a delightful adventure in the kitchen, especially if you are looking for an easy yet impressive dessert to wow your friends. Follow these simple steps to master this chocolatey treat, and you’ll soon be able to say you can easily learn how to make Oreo biscuit cake. Let’s get started!
Preheat the Cooker
Before diving into the fun parts, it’s essential to preheat your cooker. Set it to a medium flame, allowing it to heat up while you prepare the other ingredients. This step ensures that your cake will bake evenly. If you’re using a traditional oven, preheat it to 180°C (355°F). Having your baking environment ready will save you time later, and it shows that you’re serious about creating a great dessert!
Prepare the Oreo Biscuit Mixture
Now comes the fun part—crushing those Oreo biscuits! You’ll need about 2 cups of Oreo biscuits for this recipe. You can either crush them by hand in a zip-lock bag or use a food processor until they turn into fine crumbs. Once crushed, add about half a cup of powdered sugar to the mixture and give it a stir. This sweet pairing creates a rich base and infuses your cake with that tantalizing Oreo flavor. If you want, you can use gluten-free Oreo biscuits for a gluten-free option, ensuring everyone can enjoy it.
Combine Dry Ingredients
In a separate bowl, mix together your dry ingredients. For our cake, you’ll need:
- 1 cup of all-purpose flour
- 1 teaspoon of baking powder
- A pinch of salt
The baking powder is crucial because it provides the lift needed for your cake. Stir these dry ingredients thoroughly to ensure that the leavening agent is evenly distributed throughout the mixture. This simple step can make a significant difference in the texture of your cake.
Add Milk and Vanilla
After preparing your dry mixture, it’s time to bring everything together with the wet ingredients. Gradually pour in about 1 cup of milk and add 1 teaspoon of vanilla extract. Stir the mixture until you achieve a smooth batter without lumps. The creamy texture from the milk will complement the dense Oreo base, creating a perfect balance that keeps your cake moist and rich.
Grease the Baking Pan
While your cake batter sits, it’s important to prepare your baking pan. Take a round baking pan and grease it generously with butter or oil. You can also dust it lightly with flour to avoid sticking. This step is often overlooked, but trust me, it will save you a lot of heartache when it comes to releasing the cake after baking. You don’t want to have a beautiful cake in the pan that you can’t get out!
Cook the Cake
Pour your Oreo batter into the greased baking pan. Place it into your preheated cooker and cover it. Cook for about 30-35 minutes on medium heat. Despite the simplicity, always check for doneness using a toothpick; it should come out clean from the center of the cake. If you’re unsure about cooking in the oven, you can check out helpful tips and tricks on this cooking community to perfect your baking techniques.
Cool and Unmold the Cake
After the cooking time, turn off the heat and allow the cake to cool for about 10-15 minutes in the pan. This is crucial because if you try to remove it too soon, it may break apart. Once cooled, carefully unmold the cake onto a wire rack or plate. Give yourself a moment to appreciate your work before adding any icing or toppings. This cake is absolutely delicious on its own, or you can drizzle some melted chocolate over it for a decadent touch.
Creating an Oreo Biscuit Cake is not just about following a recipe; it’s about having fun and enjoying the process. So why not gather your friends, turn on some music, and bring joy to your kitchen? Happy baking!
Variations on Oreo Biscuit Cake
Adding Different Flavors
Once you learn how to make Oreo biscuit cake, you might find yourself wanting to experiment with different flavors. Here are a few ideas to elevate your cake game:
-
Nutty Touch: Incorporate nuts like crushed almonds or hazelnuts for a delightful crunch. Simply mix them into the batter or sprinkle them on top of the frosting for added texture.
-
Minty Freshness: If you adore mint, consider adding a dash of peppermint extract or crushed mint candies. This twist can infuse your cake with a refreshing flavor that pairs beautifully with chocolate.
-
Fruity Surprise: Mix in some fruit like chopped strawberries or raspberries for a vibrant and juicy element. You can also try layering the cake with fruity compote to create a delightful contrast.
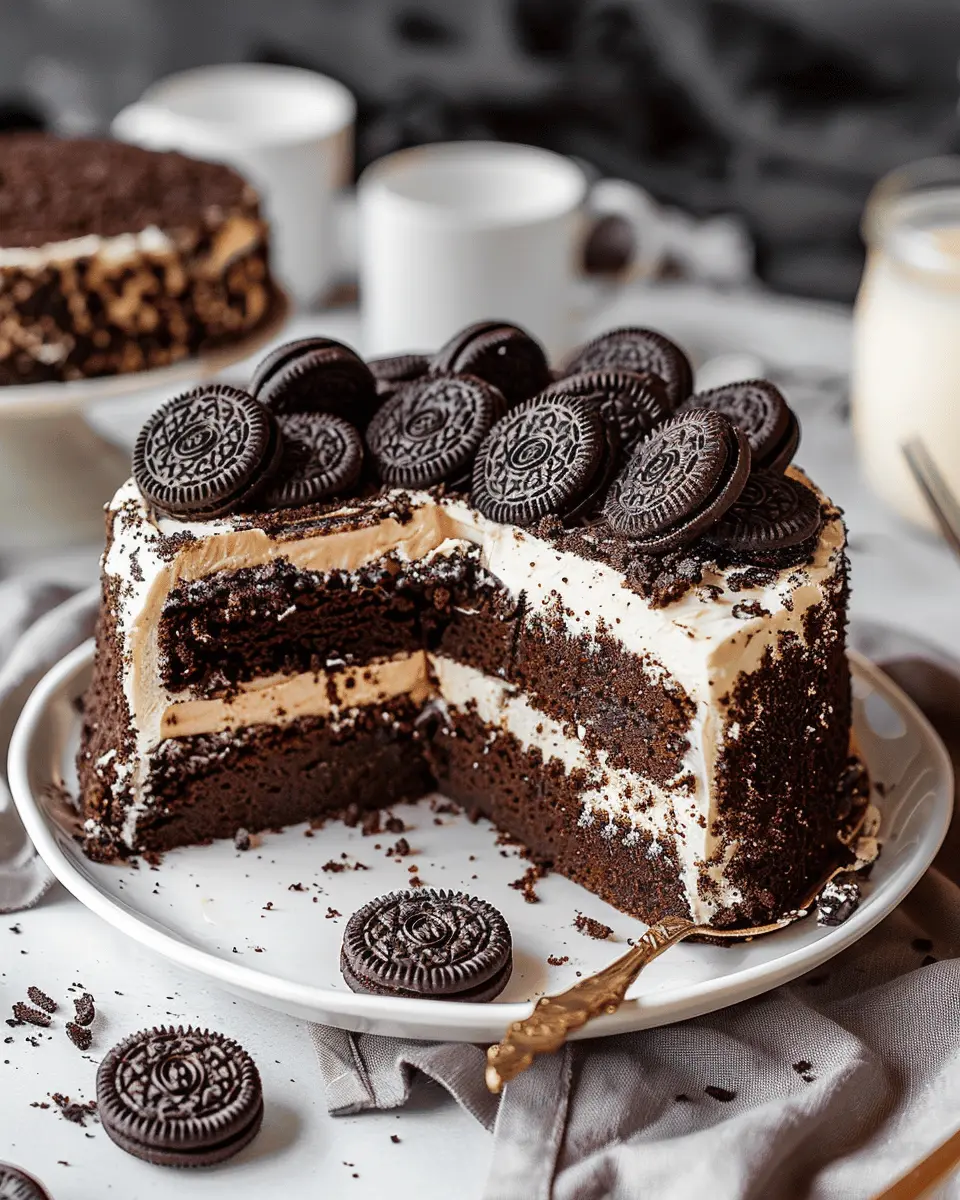
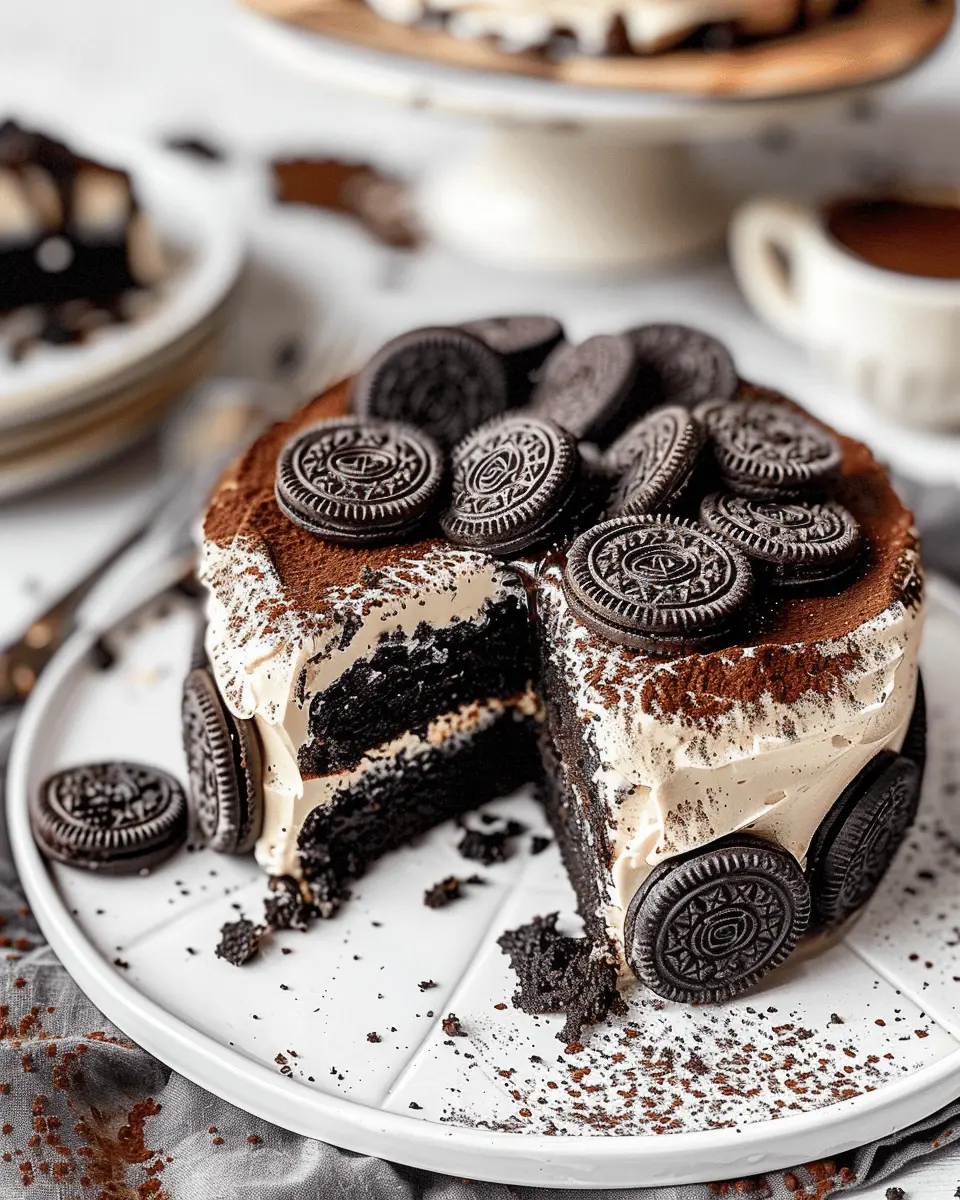
Decorating Ideas
Decorating your Oreo biscuit cake can be as fun and creative as you want. Here are some tips to help you make it visually stunning:
-
Choco Drizzle: Drizzle melted chocolate over the top of your cake for an indulgent finish. Choose dark or white chocolate to create a beautiful contrast.
-
Oreo Crumble: Crushed Oreo cookies sprinkled over the top not only enhance the flavor but also give your cake a professional finish. It’s an easy step that elevates the whole presentation.
-
Themed Decor: For special occasions, consider theming your decorations. Use colored frosting to match party themes or even add edible glitter for that festive sparkle.
By trying out various flavors and decorating techniques, you can create a unique Oreo cake to impress family and friends. The options are endless! If you’re eager for more baking inspiration, feel free to check out this baking tips article for additional ideas. Happy baking!
Cooking Tips and Notes for Oreo Biscuit Cake
Common Mistakes to Avoid
When you learn how to make Oreo biscuit cake, avoid these common pitfalls to ensure a successful outcome.
- Overmixing the batter: This can lead to a dense cake. Mix just until ingredients combine.
- Not crushing the Oreos properly: Fine crumbs are essential for the right texture; larger chunks can affect the cake’s density.
- Skipping the refrigeration step: Allowing the cake to chill aids in setting. Don’t rush this process!
Ingredient Substitutions
Flexibility in baking can often lead to delightful surprises. If you’re missing an ingredient, here are some easy swaps:
- Oreos: Substitute with any chocolate sandwich cookie for a different flavor.
- Butter: If you’re short on butter, coconut oil can be a perfect alternative, giving a unique twist.
- Sugar: You can reduce sugar by using mashed bananas or applesauce, which add both sweetness and moisture.
With these tips, you’ll be well on your way to mastering this delightful cake! For more baking insights, consider checking resources like King Arthur Baking for expert advice.
Serving Suggestions for Oreo Biscuit Cake
Pairing the Cake with Beverages
When you learn how to make Oreo biscuit cake, you’ll want to think about how to elevate the experience with perfect beverage pairings. A few excellent options include:
- Milk: Can it get any better than a classic tall glass of milk? The creamy texture pairs perfectly with the chocolate notes of the cake.
- Coffee: Brewed or iced, coffee complements the richness and adds depth to the flavors. Consider a dash of vanilla creamer for some extra flair!
- Hot Chocolate: For a sweet, wintery indulgence, serve your cake alongside a warm cup of hot chocolate. Top it with whipped cream and sprinkles for a festive touch.
Creative Serving Ideas
Get ready to impress your guests with some fun serving ideas!
- Layered Dessert Cups: Crumble your Oreo biscuit cake and layer it with whipped cream or chocolate mousse in individual dessert cups.
- Oreo Trifle: Create a trifle by alternating layers of cake, vanilla pudding, and crushed Oreos. It looks stunning and tastes divine.
- Birthday Treats: Personalize slices with icing messages or sprinkles for an unforgettable birthday celebration.
These options not only enhance the presentation but also invite everyone to dig in and enjoy the sweet delight of your freshly baked Oreo biscuit cake!
Time Breakdown for Making Oreo Biscuit Cake
Preparation Time
Getting everything ready for this delightful Oreo Biscuit Cake takes about 15 minutes. You’ll want to gather your ingredients like Oreo biscuits, cream, and any optional toppings. Pro tip: have everything laid out before you start to streamline the process, which is crucial if you’re juggling a busy schedule!
Cooking Time
The actual cooking time is roughly 30 minutes. That’s just enough time to whip up this cake while enjoying a podcast or catching up on your favorite show. If you want to learn how to make Oreo Biscuit Cake, the exciting part is watching it come together!
Total Time
In total, you’re looking at about 45 minutes from start to finish. This quick prep and cooking time make it perfect for a spontaneous dessert or a last-minute treat for unexpected guests. Who doesn’t love a home-baked cake that’s easy and delicious?
For more baking tips, check out this article on easy desserts.
Nutritional Facts for Oreo Biscuit Cake
When you learn how to make Oreo biscuit cake, you’re diving into a delightful treat that’s both indulgent and surprisingly straightforward. Here’s a quick look at the nutritional facts that might just add a sprinkle of guilt — or motivation!
Calories
A typical serving of Oreo biscuit cake contains around 250-300 calories. This varies based on specific ingredients, but it’s essential to enjoy each slice mindfully, especially if you have health goals in mind.
Sugar Content
Each slice brings about 20-25 grams of sugar to the party. While sweetness is part of the charm, it’s wise to balance this deliciousness with a healthier meal earlier in the day. If you’re interested in options to reduce sugar, check out Sugar Alternatives.
Key Nutrients
While this cake is more of a dessert than a powerhouse, it does offer some notable nutrients:
- Calcium: Contributes to bone health.
- Iron: Essential for blood circulation.
- Vitamin A: Supports eye health.
Incorporating treats like Oreo biscuit cake occasionally adds a little joy to your diet while maintaining balance is key. What’s your favorite dessert? Let us know!
FAQs About Making Oreo Biscuit Cake
Can I Use Other Biscuits?
Absolutely! While we recommend using Oreos for that signature taste, you can experiment with other chocolate cookies or even plain biscuits. Each variation will offer a unique flavor, so feel free to explore options like chocolate digestives or even gluten-free biscuits if needed. Just be sure to adjust any additional sweetness according to the cookies you select. Curious about creating your own combinations? Check out this article on cookie pairings for inspiration!
How to Store Leftover Cake?
Storing your leftover Oreo biscuit cake is easy! Wrap it tightly in plastic wrap or store it in an airtight container. This keeps the cake fresh and moist. It can be kept in the fridge for up to 4-5 days. If you want to store it longer, you can freeze it. Just make sure to slice it into portions and wrap each piece individually—this way, you can enjoy a small treat without defrosting the whole cake later!
How to Make the Cake Gluten-Free?
To make your cake gluten-free, simply swap out the regular Oreos for gluten-free options. Many brands now offer gluten-free cookies that taste just as good as the original. Ensure your other ingredients, like cream and any toppings, are also certified gluten-free. By making these simple changes, you can still learn how to make Oreo biscuit cake that everyone can enjoy! For more ideas on gluten-free baking, visit the Gluten Intolerance Group.
Remember, baking is all about experimenting. Don’t hesitate to put a personal spin on this cake recipe!
Conclusion on Learning How to Make Oreo Biscuit Cake
Final Thoughts on Homemade Treats
Now that you’ve taken the time to explore how to make Oreo biscuit cake, it’s clear that creating your own treats can be both fun and fulfilling. Not only do homemade desserts allow for creativity in the kitchen, but they also provide an opportunity to bond with friends and family.
Imagine surprising your loved ones with this crowd-pleaser at your next gathering; they’ll be impressed by your skills and the delicious taste! Plus, knowing exactly what goes into your cake allows for healthier choices compared to store-bought options.
So, why not roll up your sleeves and inspire your inner baker? If you’re ready to shine, try this recipe and enjoy every bite!
For more baking tips and delightful recipe ideas, you might check out resources like The Kitchn or Inspirational Baking—they’re brimming with creative ideas!
Learn How To Make Oreo Biscuit Cake – Easy Indulgent Recipe
Learn how to make a delicious and easy Oreo biscuit cake.
- Prep Time: 30 minutes
- Cook Time: 0 minutes
- Total Time: 4 hours 30 minutes
- Yield: 8 servings 1x
- Category: dessert
- Method: no-bake
- Cuisine: American
- Diet: vegetarian
Ingredients
- 1 package Oreo biscuits
- 2 cups milk
- 1/2 cup sugar
- 1/2 cup chocolate syrup
- 1 cup whipped cream
Instructions
- Crush the Oreo biscuits into fine crumbs.
- In a bowl, combine milk and sugar, and mix well.
- Dip each Oreo biscuit in the milk mixture and layer them in a dish.
- Spread a layer of whipped cream on top.
- Repeat the layering process until all ingredients are used.
- Drizzle chocolate syrup on top and refrigerate for 4 hours.
Notes
- For added flavor, you can use vanilla extract in the whipped cream.
Nutrition
- Serving Size: 1 slice
- Calories: 300
- Sugar: 20g
- Sodium: 150mg
- Fat: 15g
- Saturated Fat: 8g
- Unsaturated Fat: 5g
- Trans Fat: 0g
- Carbohydrates: 40g
- Fiber: 1g
- Protein: 4g
- Cholesterol: 30mg
Keywords: Oreo, cake, dessert, easy recipe