Introduction to RIP Brownies
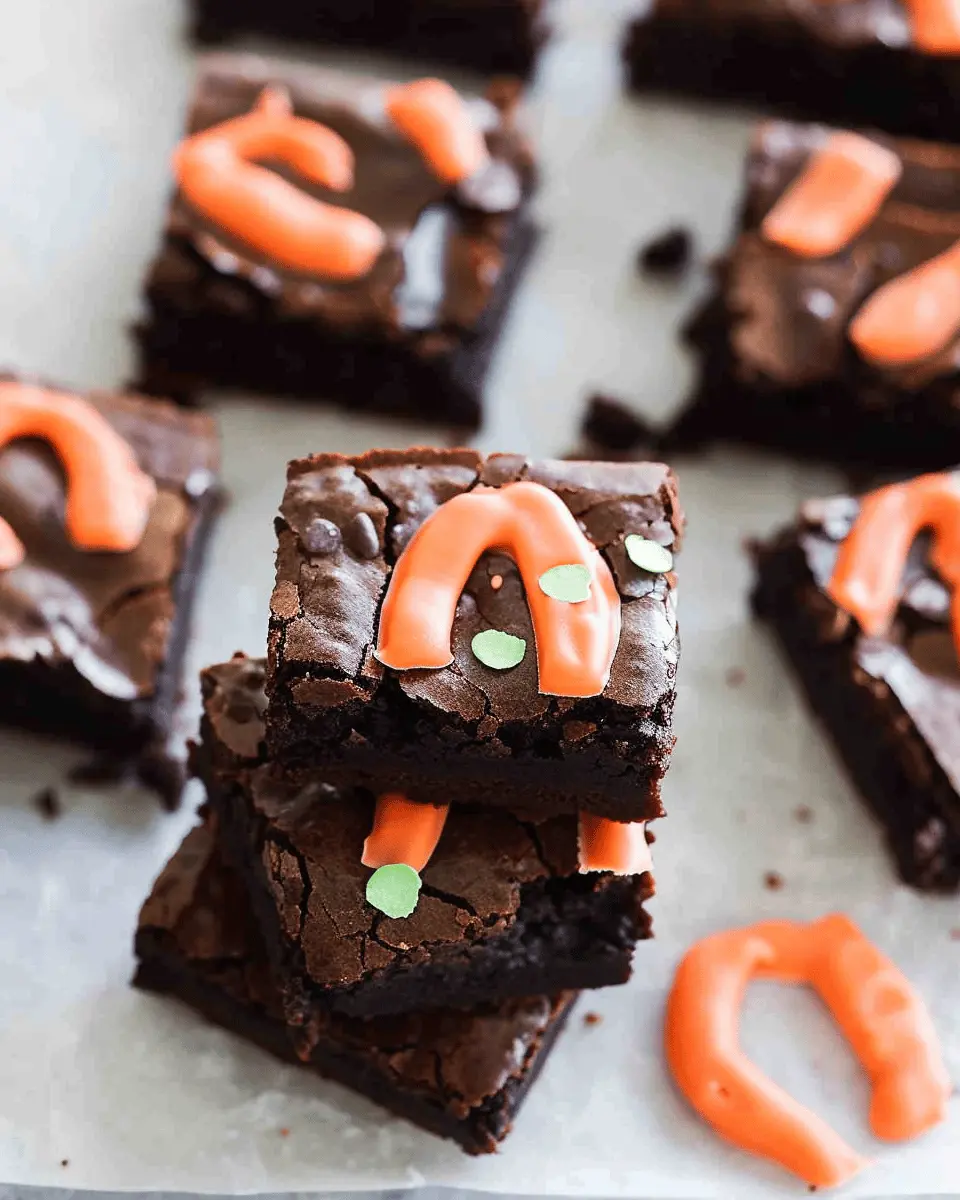
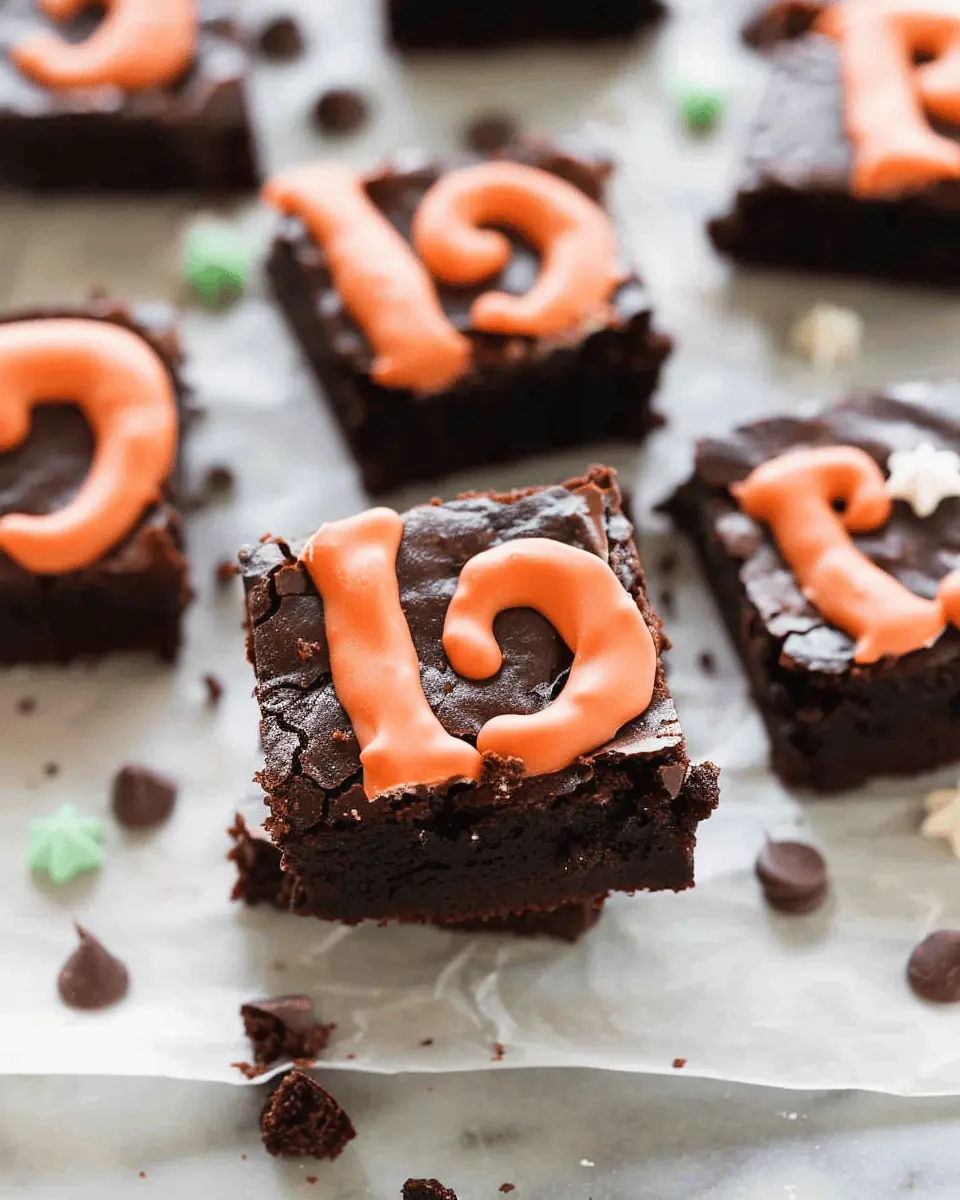
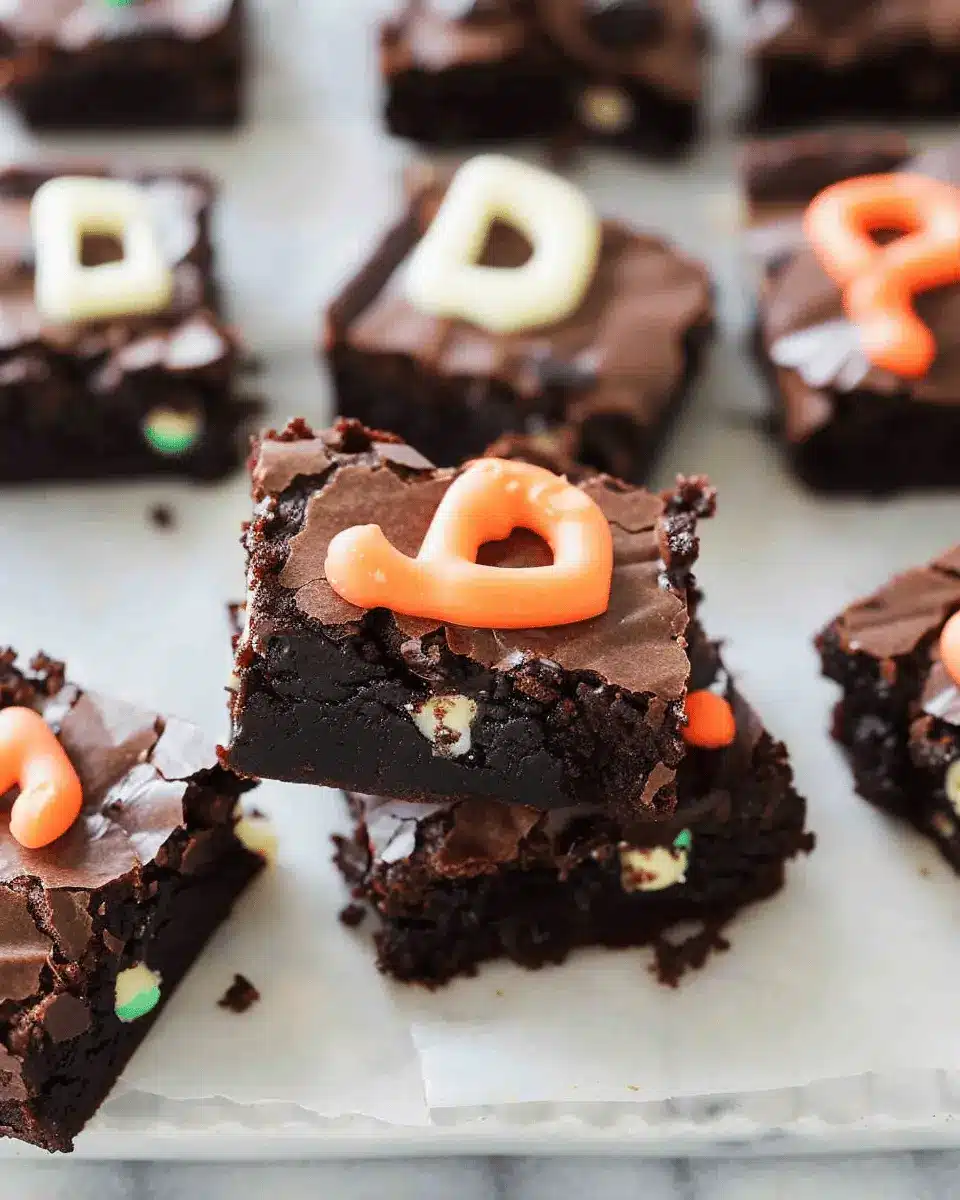
When it comes to baking, creativity can turn a simple dessert into an unforgettable experience. Enter RIP Brownies—these delectable treats add a whimsical twist to your classic brownie recipe. Picture this: rich, fudgy brownies adorned with chocolate tombstones, perfect for Halloween gatherings or any spooky celebration. But what really makes RIP Brownies stand out? Let’s dive into this fun twist on a beloved classic.
Why RIP Brownies are a Fun Twist on Classic Treats
RIP Brownies are not just about the taste; they’re about bringing a smile to your face and making memorable moments. Imagine serving a tray of these cleverly decorated brownies and watching your guests light up with laughter and nostalgia. The miniature tombstones, which can be crafted from chocolate-covered biscuits or marshmallows, elevate your baking game and allow for personal expression.
-
Engagement: Everyone loves a good theme. Incorporating RIP Brownies into a Halloween party or a horror movie night can spark engaging conversations and enjoyable storytelling. What’s your favorite Halloween memory?
-
Versatile Ingredients: The base recipe for these brownies remains classic, using quality cocoa powder and chocolate to ensure they’re super rich. You can even customize your brownies with nuts or colorful sprinkles, making them even more appealing.
-
Creative Freedom: The decorations are where your imagination takes the lead—consider adding edible markers or icing to write names on your tombstones. Incorporating different flavors, like sea salt or caramel drizzle, adds even more fun!
Not convinced yet? A study by the National Confectioners Association found that 70% of people believe that themed desserts can enhance their overall experience at events. So why not make your get-together more memorable with these delightful RIP Brownies?
Ready to impress your friends and family with this unique dessert? Dive into the recipe, and let’s start baking those spooky delights! Check out some expert decorating tips here for additional inspiration.

Ingredients for RIP Brownies
Creating RIP Brownies is both fun and delicious! Here’s a breakdown of what you’ll need to whip up these festive treats.
Essential ingredients for the brownies
For the brownies themselves, ensure you gather these essential ingredients:
- 1 cup unsalted butter
- 2 cups granulated sugar
- 4 large eggs
- 1 teaspoon vanilla extract
- 1 cup all-purpose flour
- 1 cup cocoa powder
- ½ teaspoon salt
- ½ teaspoon baking powder
These simple ingredients come together to create the rich, fudgy texture that makes brownies irresistible. Feel free to explore variations, such as using vegan alternatives or adding nuts for crunch!
What you’ll need for the green buttercream frosting
To make the spooky green buttercream that tops your RIP Brownies, collect:
- 1 cup unsalted butter (softened)
- 4 cups powdered sugar
- 2-3 tablespoons milk
- Green food coloring
- 1 teaspoon almond or vanilla extract for flavor
This bright frosting adds a playful touch to your brownies. It’s a delightful way to let your creativity shine!
Other supplies you might consider
As you prepare to bake your RIP Brownies, consider these additional supplies for a seamless experience:
- 9×13 inch baking pan
- Parchment paper for easy release
- Mixing bowls
- Electric mixer or whisk
- Spatula for spreading frosting
Don’t forget to grab some fun decorations like edible eyes or mini tombstone cookies to really bring the theme to life! Check out great tips for decorating your baked goods at this baking resource.
Happy baking! You’re one step closer to a spooky delight.
Preparing RIP Brownies
Creating the perfect batch of RIP Brownies is not only a fun baking project but also a delightful way to celebrate any spooky occasion. Whether you’re a seasoned baker or just starting, this guide will help you through the process step by step. Let’s get to it!
Gather and prep all ingredients
Before diving into baking, the first step is to gather all your ingredients. Here’s what you’ll need:
- 1 cup of unsalted butter
- 2 cups of granulated sugar
- 4 large eggs
- 1 teaspoon of vanilla extract
- 1 cup of all-purpose flour
- 1 cup of cocoa powder
- 1/2 teaspoon of baking powder
- A pinch of salt
- Dark chocolate chips (optional for extra indulgence)
Ensure everything is at room temperature for the best results. If you’re short on time, check out some speedy prep tips here. Once you have everything laid out, you’re ready to rock!
Preheat the oven and prepare the baking pan
Your oven should be preheated to 350°F (175°C) while you prepare your baking pan. Line a 9×13 inch pan with parchment paper, leaving some overhang to aid with easy removal after baking. This will not only prevent sticking but also make cutting the brownies a breeze once they cool. Isn’t it satisfying to slice into perfectly squares of chocolate goodness?
Mix and bake the brownie batter
Now comes the fun part: mixing your ingredients! In a large mixing bowl, start by melting the butter. Once it’s melted, stir in the sugar until well combined. Then, add the eggs one at a time, mixing thoroughly after each addition. This step adds a lovely rich texture to your RIP Brownies.
Next, stir in the vanilla extract. Gradually sift in the flour, cocoa powder, baking powder, and salt, mixing until everything is just combined. If you’re feeling adventurous, add in those dark chocolate chips.
Pour the batter into your prepared pan, spreading it evenly. Bake in your preheated oven for about 20-25 minutes. Keep an eye on them; you want them firm but still fudgy at the center. A toothpick inserted should come out with a few moist crumbs.
Cool the brownies and prepare for decorating
Once your brownies are out of the oven, let them cool in the pan for about 10-15 minutes before transferring them onto a wire rack. Cooling is essential; it allows the brownies to set up properly. As you wait, you can brainstorm ideas for decorating them.
Make the green buttercream frosting
For the ultimate RIP Brownies experience, a vibrant green buttercream frosting is a must. In a mixing bowl, beat together:
- 1 cup of softened unsalted butter
- 4 cups of powdered sugar
- 2-3 tablespoons of milk
- Green food coloring (as desired)
Mix the butter until creamy, gradually add powdered sugar, and drizzle in the milk until the frosting reaches a smooth, spreadable consistency. Add the food coloring drop by drop until you achieve the spooky green shade you desire.
Assemble and decorate with Milano cookies and candy
Now for the fun part: assembling your spooky treat! Once the brownies are completely cooled, spread a generous layer of green frosting on top. For added decoration, take Milano cookies and insert them vertically into the brownies to resemble gravestones.
To jazz things up, scatter some small candies around or on top. Think chocolate sprinkles or gummy worms for a creepy touch.
Dive into your creation!
As you slice into your beautifully assembled RIP Brownies, you’ll be rewarded not just with a delicious treat but a satisfying sense of accomplishment. And of course, don’t forget to take a few photos for your social media feed! Your friends will be impressed.
For more baking inspiration and tips, be sure to check out Baker’s Delight for their expert baking resources. Enjoy your baking adventure!
Variations on RIP Brownies
When it comes to crafting the perfect RIP Brownies, there are so many fun variations to explore, especially when celebrating Halloween! Each twist adds a unique flair that makes these treats more than just dessert; they become festive centerpiece delights.
Halloween-themed RIP Brownies with Different Toppings
Let your creativity shine by topping your RIP Brownies with spooky decorations! Here are some fun ideas:
- Graveyard Scene: Use crushed Oreos for dirt and place gummy worms on top. Add mini chocolate tombstones for a classic graveyard look.
- Pumpkin Patch: Top with orange frosting and mini pumpkin candies to celebrate the season. This adds a pop of color and sweetness.
- Ghostly Treats: Pipe little ghost faces using white icing on each brownie, making them cute and playful. These are always a hit at any Halloween party.
These creative variations can not only make your brownies look inviting but also give them a thematic twist that everyone will love.
Vegan or Gluten-Free Options for RIP Brownies
Inclusivity is key when it comes to gathering with friends and family. Fortunately, you can easily adapt the RIP Brownies recipe to cater to different dietary needs:
-
Vegan Option: Substitute eggs with flaxseed meal mixed with water (1 tablespoon of flaxseed meal + 2.5 tablespoons of water = 1 egg) and swap butter with coconut oil or vegan butter. Your brownies will be just as fudgy and delicious!
-
Gluten-Free Option: You can replace regular flour with a gluten-free blend. Make sure to check that your chocolate chips are also gluten-free.
Finding the right ingredients can be as easy as a quick trip to your local health food store or even a glance at online resources like Beyond Celiac for more tips on gluten-free baking!
These variations ensure that everyone gets to enjoy the RIP Brownies, making your treats the hit of any gathering. What’s your favorite twist on this treat? Feel free to share your experiences and ideas!
Baking notes for RIP Brownies
When you’re diving into the delicious world of RIP Brownies, a few notes can elevate your baking game. Let’s break it down!
Tips for achieving the perfect brownie texture
Getting that ideal fudgy texture that makes brownies irresistible is key. Here are some tips to follow:
- Use quality ingredients: Opt for high-quality cocoa powder and chocolate. The better the chocolate, the richer your brownies will taste.
- Don’t overmix: Keep that batter nice and thick. Overmixing can lead to dense, cake-like brownies instead of the soft fudginess we crave.
- Watch the bake time: Your brownies may continue to cook in their pan once removed from the oven. Aim for the toothpick test—look for moist crumbs, not dry ones.
Suggestions for decorating creativity
Want to dress up your RIP Brownies for a special occasion? Here are some fun ideas:
- Drizzle with ganache: A simple ganache made from cream and chocolate can create a glossy finish.
- Add toppings: Think nuts, sprinkles, or even crushed cookie pieces for added texture and flair.
- Use cookie cutters: Once cooled, shape your brownies into fun designs—like tombstones for a Halloween party.
Now you’re all set to create some killer RIP Brownies. Happy baking!
Serving suggestions for RIP Brownies
How to present RIP Brownies at parties
When you’re hosting a gathering, visually appealing desserts can be a real showstopper. Present your RIP Brownies on a stylish platter, perhaps garnished with a sprinkle of powdered sugar or a drizzle of chocolate sauce. Layer them in a fun, graveyard theme with mini tombstones crafted from chocolate pieces and edible markers. This playful twist not only adds a touch of humor but also invites your guests to dig in!
Pairing ideas with beverages
To truly elevate your brownie experience, consider pairing your RIP Brownies with complementary drinks. A creamy vanilla latte can beautifully balance the rich chocolate, while a fruity iced tea adds a refreshing contrast. For a cozy vibe, how about serving them alongside a spiced apple cider? These options provide the perfect backdrop for those indulgent bites!
For further inspiration on beverage pairings, check out Taste of Home. They offer excellent suggestions for all kinds of dessert and drink combinations.
With these fun serving suggestions, your RIP Brownies will undoubtedly steal the show!
Tips for making perfect RIP Brownies
Common mistakes to avoid when baking brownies
Getting the texture and flavor of your RIP Brownies just right can be tricky. Here are a few common pitfalls to steer clear of:
- Overmixing the batter: Stirring too much can incorporate air and create cake-like brownies instead of the desired fudgy texture. Mix until just combined, okay?
- Choosing the wrong pan: Using a pan that’s too small leads to undercooked centers, while a pan that’s too large results in dry edges. Aim for an 8×8 inch or 9×9 inch pan for the best outcome.
- Ignoring the cooling time: It’s tempting to dive in right away, but letting your brownies cool in the pan for at least 15 minutes ensures they set properly. You’ll be rewarded with clean cuts and a more satisfying bite.
Using boxed mixes vs. homemade brownie recipes
When it comes to making RIP Brownies, you might wonder if a boxed mix is a shortcut worth taking. Boxed mixes can save time, but homemade recipes often yield richer flavors.
Homemade brownies allow you to customize ingredients — think more chocolate, nuts, or even a swirl of peanut butter. Check out reputable resources like King Arthur Baking for some delicious homemade recipes. Ultimately, it’s about your comfort level in the kitchen and the time you have. Whether you choose a mix or bake from scratch, baking can be a fun, creative process that ends with a delightful treat!
Remember, your journey to perfect RIP Brownies is about enjoying the process as much as savoring the end result!
Time breakdown for RIP Brownies
Understanding the time commitment for making your delicious RIP Brownies can help you plan better! Here’s a quick breakdown:
Preparation time
Getting ready to bake is half the fun! You’ll need about 15 minutes to gather your ingredients and mix everything together. Make sure you’ve got all your essentials, like the cocoa, flour, and, of course, your favorite chocolate.
Baking time
The baking phase will take around 30-35 minutes. Use this time to relax, maybe catch up on a favorite show or playlist.
Total time
All in all, once you include prep and baking, expect to spend about 45-50 minutes whipping up these heavenly RIP Brownies. It’s a small commitment for a sweet reward!
For a deeper dive into baking techniques, check out resources like King Arthur Baking or Serious Eats. Happy baking!
Nutritional information for RIP Brownies
Calories per brownie
If you’re diving into the decadent world of RIP Brownies, it’s good to know what you’re indulging in! Each brownie offers roughly 150 calories, making them a delightful treat without completely derailing your dietary goals. Just remember, balance is key!
Breakdown of other nutritional components
When it comes to the nutritional makeup of these RIP Brownies, you’ll find a blend of ingredients that contribute to their rich flavor. Here’s a quick overview:
- Total Fat: Approximately 8 grams
- Saturated Fat: About 4 grams
- Carbohydrates: Around 20 grams
- Dietary Fiber: 1 gram
- Sugar: Roughly 10 grams
- Protein: About 2 grams
These brownies contain beneficial ingredients, like dark chocolate, which is known for its antioxidants. Plus, the use of Turkey Bacon enhances the flavor profile without adding too many calories. Looking for healthier dessert options? You might want to check out the nutritional insights on Healthline. Keeping track of these RIP Brownies’ nutritional values allows you to satisfy your sweet tooth responsibly!
FAQs about RIP Brownies
Making RIP Brownies doesn’t have to be a last-minute affair!
Can I make RIP Brownies ahead of time?
Absolutely! In fact, making RIP Brownies a day in advance can actually enhance their flavor as the ingredients meld together. Just bake them, let them cool completely, and store them in an airtight container at room temperature. The day you plan to serve them, you can add your scary decorations—perfect for your Halloween gathering!
What if I don’t have Milano cookies?
No worries if you can’t find Milano cookies! You can easily substitute them with other cookie options. Try using basic chocolate wafers or even homemade cookies. Just make sure they’re sturdy enough to hold up as the “tombstones.” If you want to explore alternative cookies, brands like Pepperidge Farm offer several tasty options that can fit the bill.
How can I store leftover RIP Brownies?
Storing leftover RIP Brownies is quite simple. If you’ve managed to have some leftovers (which is always a great sign of deliciousness!), place them in an airtight container. They can be kept at room temperature for up to three days or in the fridge for about a week. For longer storage, consider freezing them—just ensure they’re wrapped well, and they’ll last up to three months! When you’re ready to enjoy them again, just thaw them at room temperature.
By testing out these tips, you’ll ensure your RIP Brownies stay fresh and delightful for Halloween feasts. For more ideas on cookie substitutes or advanced brownie techniques, check out sources like Serious Eats or Bon Appétit!
Conclusion on RIP Brownies
Final thoughts and encouragement to try this festive treat
As you wrap up your baking journey with these RIP Brownies, remember that the magic lies in the details. These brownies are not just a dessert; they’re a fun, festive experience that brings a spooky twist to your usual treats. Whether you’re hosting a Halloween gathering or just looking to impress friends, this recipe is an easy win.
Don’t hesitate to gather your friends for a baking session—there’s something truly uplifting about creating these delightfully eerie treats together. Share your creations on social media, perhaps tagging popular dessert inspirations (like those from Epicurious) to spread the joy of RIP Brownies. Trust us, the result will be as satisfying to make as it is to eat!
RIP Brownies: The Indulgent Treat You’ll Crave Again and Again
A rich and decadent brownie recipe that will leave you wanting more.
- Prep Time: 15 minutes
- Cook Time: 30 minutes
- Total Time: 45 minutes
- Yield: 12 servings 1x
- Category: Desserts
- Method: Baking
- Cuisine: American
Ingredients
- 1 cup unsalted butter
- 2 cups granulated sugar
- 4 large eggs
- 1 tablespoon vanilla extract
- 1 cup all-purpose flour
- 1 cup cocoa powder
- 1 teaspoon salt
- 1 cup chocolate chips
Instructions
- Preheat your oven to 350°F (175°C).
- In a large bowl, melt the butter and mix in the sugar.
- Add the eggs one at a time, mixing well after each addition.
- Stir in the vanilla.
- In another bowl, combine flour, cocoa powder, and salt.
- Gradually fold the dry ingredients into the wet mixture until just combined.
- Fold in the chocolate chips.
- Pour the batter into a greased 9×13 inch pan.
- Bake for 25-30 minutes or until a toothpick comes out clean.
Notes
- For extra richness, use high-quality chocolate.
- Do not overbake to maintain a fudgy texture.
Nutrition
- Serving Size: 1 brownie
- Calories: 350
- Sugar: 28g
- Sodium: 200mg
- Fat: 20g
- Saturated Fat: 12g
- Unsaturated Fat: 7g
- Trans Fat: 0g
- Carbohydrates: 45g
- Fiber: 3g
- Protein: 4g
- Cholesterol: 90mg
Keywords: RIP Brownies, brownies, dessert, chocolate